Your kitchen tap has been dripping since Tuesday. Not a dramatic leak — just a steady, maddening tick every few seconds that you can hear from the hallway. You've already done the math in your head: a plumber's callout fee alone runs $85 to $150 in most cities before anyone touches a wrench. And you're standing there wondering if this is a $4 problem or a $400 one.
Most of the time, it's the $4 problem. I've learned that the hard way, from both directions — once paying a plumber $220 to replace a washer I could have swapped in fifteen minutes, and once flooding a bathroom cabinet because I overtightened a supply line and cracked the nut. That second one cost me a Saturday, a wet towel pile, and a fresh respect for the phrase "hand-tight."
So here's what actually works, what genuinely doesn't, and where the DIY line sits before you make things worse.
Key takeaways
- Shut off the water first. Every single time. No exceptions, even for a "quick" five-minute job.
- A dripping tap is usually a $3–$8 cartridge or O-ring, not a new fixture.
- Two tools handle roughly 80% of household fixes: an adjustable wrench and a drain snake.
- Never pour chemical drain cleaner into a fully blocked drain — it sits there and can damage older pipes.
- If you see water where it shouldn't be near a wall or ceiling, stop. That's a professional's job.
- Teflon tape goes on threads clockwise. Get this wrong and you'll create the leak you were trying to fix.
Before you touch anything: find your shutoff valves
Ask ten homeowners where their main water shutoff is and eight of them will guess. I was one of the eight. Then a supply line burst under my bathroom sink at 11pm and I spent four panicked minutes watching water spread across the tile while hunting for a valve in the dark.
Find it now, while nothing is leaking.
Where the valves actually are
Location depends entirely on your building type, and this trips people up constantly.
- Detached house: usually in the basement near the front wall, or in a utility closet beside the water heater. In warmer climates, look outside near the hose bib.
- Apartment or condo: often a shared riser closet in the hallway, or a panel behind an access door inside your unit. In some buildings, only the superintendent has access.
- Every fixture also has its own local shutoff — the small oval handles under the sink, behind the toilet, or on the wall behind the washing machine.
Test it before you need it
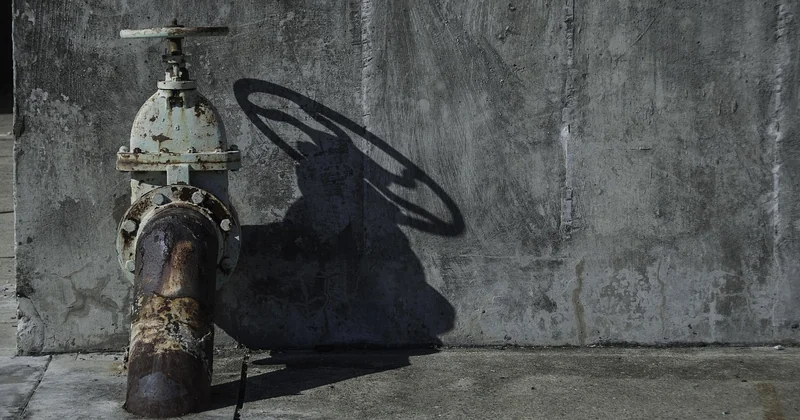
Turn the main valve clockwise until it stops. Then open a cold tap and confirm the water dies within a few seconds. If the tap keeps running, your valve is seized or broken — and that's a job for a plumber, because a valve that won't close is worse than no valve at all. I check mine every spring. It takes ninety seconds and has saved me twice.
One more thing worth knowing: gate valves (round handle) can seize if they haven't been turned in years. Ball valves (lever handle) are far more reliable. If your home has the old round-handle type and it won't budge, don't force it — you'll snap the stem.
The dripping tap fix that actually works
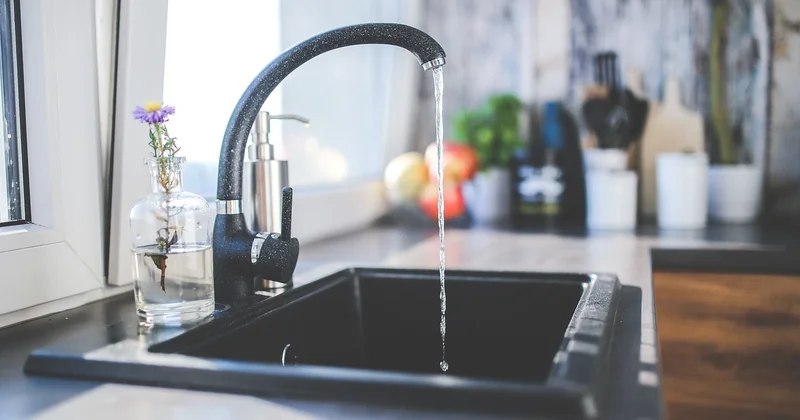
Nine times out of ten, a dripping tap is a worn rubber component — an O-ring, a washer, or a ceramic cartridge. The metal parts almost never fail.
Identify your tap type first
This matters because the repair is completely different. A compression tap (two separate hot and cold handles) uses a rubber washer that flattens over time. A ceramic cartridge tap (single lever, or two handles that turn only a quarter turn) uses a cartridge that wears at the sealing faces. A ceramic disc tap is the modern single-lever type.
Pop the decorative cap off the handle, undo the screw underneath, lift the handle, and you'll see which one you're dealing with. Take a photo before you remove anything. I cannot overstate how much that photo has saved me.
The repair itself
- Close the local shutoff under the sink.
- Open the tap to drain residual pressure.
- Remove the handle and the retaining nut.
- Pull the cartridge or stem. Note the orientation — it only goes back one way.
- Match the old part at a hardware store. Bring the physical part; photos lie about size.
- Reassemble. Tighten firmly, then a quarter turn more. Not more than that.
The whole job runs fifteen to twenty-five minutes. New washers cost a couple of dollars. Cartridges run $8 to $25 depending on the brand — and here's a quiet trap: some manufacturers use proprietary cartridges, so a generic replacement won't seat properly. If your tap is an odd imported brand, order the exact part rather than improvising.
Clearing a blocked drain without chemicals
Chemical drain cleaner is the most overused product in home plumbing. It works on hair and grease in a partially flowing pipe. In a fully blocked drain, it just pools above the clog, and if that pool sits against older plastic or metal for hours, you're inviting a crack. Plus, if you eventually call a plumber, they now have to deal with caustic liquid sitting in your trap.
The order that works
Start mechanical, escalate slowly.
- Plunger first. Seal the second drain (in a double sink) with a wet cloth, then plunge in short, sharp strokes for about twenty seconds. This clears most sink and toilet clogs outright.
- Baking soda and vinegar. Half a cup of each, let it fizz for fifteen minutes, then flush with hot — not boiling — water. Good for slow drains and odour, weaker on solid blockages.
- A drain snake. A basic 25-foot hand snake costs $20 to $35 and reaches most bathroom sink and tub clogs. Feed it in, crank clockwise, pull back slowly.
- A wet/dry vacuum, if you happen to own one. Seal the drain opening with a rag and pull. Surprisingly effective on tub hair clogs.
The trap is your friend
Under every sink there's a P-trap holding a water seal. That curve is where the clog usually lives. Put a bucket underneath, unscrew both slip nuts by hand, and clean it out. Messy, unglamorous, and it solves the problem in five minutes more often than anything else on this list.
If the water backs up in multiple fixtures at once — say the toilet gurgles when the shower drains — the blockage is in the main line, not a branch. That's beyond a hand snake's reach and worth calling someone.
Running toilet: diagnosis by symptom
A toilet that runs constantly can waste hundreds of gallons a day, and the fix is usually under $15. But the part you replace depends on what it's doing.

| Symptom | Likely cause | Typical part cost | DIY difficulty |
|---|---|---|---|
| Faint hiss, tank refills randomly | Worn flapper | $5–$12 | Easy, 10 minutes |
| Water overflows into the bowl | Fill valve set too high | $0 to adjust | Easy, 5 minutes |
| Handle needs holding down | Stretched chain or worn flapper | $5–$12 | Easy |
| Tank never fills | Faulty fill valve | $12–$20 | Moderate, 30 minutes |
| Water pools at the base | Failed wax ring | $8–$15 | Hard — call a pro |
The flapper test takes ten seconds: drop a few drops of food colouring in the tank, wait fifteen minutes without flushing, and check the bowl. If colour appears, the flapper is leaking. That's your culprit.
When DIY goes wrong: the mistakes I've made
I overtightened a compression fitting on a copper supply line once, convinced that tighter meant safer. It doesn't. Compression fittings seal on the ferrule, and cranking past snug deforms the pipe. Mine held for two days, then wept a slow drip down the inside of the cabinet wall. I caught it because I'd left a paper towel under the joint as a telltale. Do that — a paper towel under any joint you've touched tells you the truth overnight.
The other classic: two incompatible chemicals. Never mix a drain cleaner with anything else, and never follow a caustic cleaner with an acid-based one. The reaction is violent.
Knowing when to stop and call someone
Real talk: some jobs reward stubbornness, and some punish it. The dividing line isn't difficulty — it's consequences.
Handle these yourself without hesitation: dripping taps, running toilets, slow drains, a re-caulking job around a tub, replacing a showerhead or tap, snaking a bathroom sink.
Call a professional for these: anything behind a wall, anything involving a gas water heater, water pooling at a toilet base (that wax ring means pulling the whole fixture), a main shutoff that won't close, sewage smells anywhere in the house, and any leak you can't see but can hear.
A useful threshold I use: if the worst-case outcome is a wet towel, do it yourself. If the worst-case outcome is a damaged joist, a flooded floor, or a repair bill above $500, pay someone. The $120 callout starts looking cheap very fast when you're replacing subfloor.
The toolbox that covers most of it
You don't need a van full of equipment. This set handles nearly everything in this article:
- An adjustable wrench — one good one beats a cheap set.
- A plunger with a proper cup seal.
- A 25-foot hand drain snake.
- Teflon tape and a small tube of plumber's putty.
- A bucket and a stack of old towels. Underrated.
- A headlamp. Cabinets under sinks are dark, and holding a torch in your teeth while turning a wrench is a good way to make an already annoying job worse.
Total outlay: around $60 to $80. That's one plumber's minimum callout, and it lasts decades.
Here's the thing I keep coming back to. Plumbing feels intimidating because the failure mode is water damage, and water damage is invisible until it isn't. But the actual mechanics are simple — fluid goes where pressure and gravity send it, and seals keep it in place. Once you understand that a drip is a worn seal and a blockage is an obstruction, most household problems collapse into a short list of parts under twenty dollars.
The paper towel under the sink is still there, by the way. Old habit. Every few weeks I check it, and every few months I catch something early that would have been a much bigger conversation otherwise.