If you’ve been dreaming about upgrading your outdoor space without the mess, expense, or long construction timelines, snap together outdoor deck tiles DIY projects might be exactly what you need. These innovative tiles click securely into place without nails, glue, or special tools—making them perfect for beginners and seasoned DIYers alike. Not only do they instantly refresh the look of patios, balconies, and poolside areas, but they also provide a durable, weather-resistant surface that’s easy to maintain year-round.
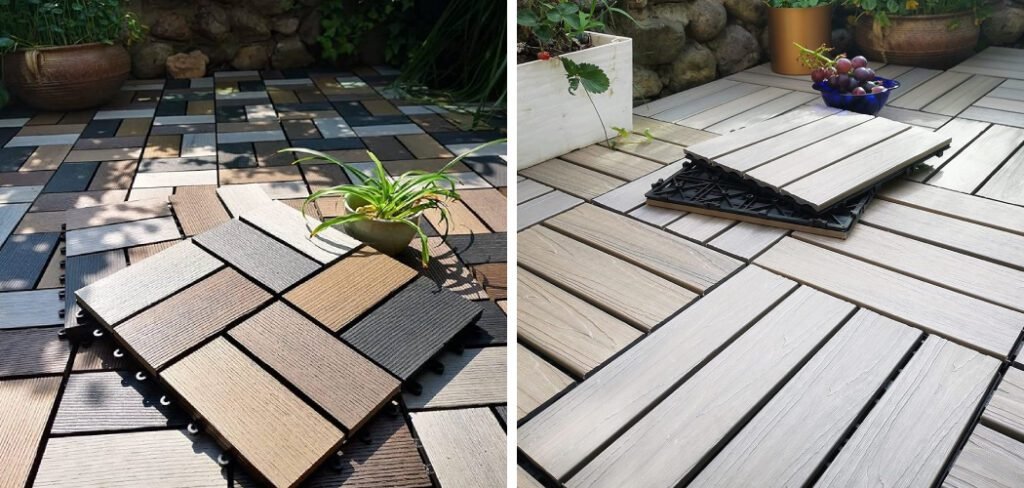
In this guide, you’ll learn how to choose the right tiles, prepare your space, and install them step-by-step for a professional-looking finish. We’ll also share expert tips, common mistakes to avoid, and smart styling ideas to make your new deck both functional and stunning.
Why Choose Snap Together Deck Tiles?
When it comes to quick and stylish outdoor upgrades, few options compare to the convenience of snap together outdoor deck tiles DIY projects. These tiles are designed with an interlocking system that makes installation incredibly easy—no professional skills or heavy tools required. They’re also a renter’s dream since they can be installed without permanently altering the space and removed just as easily when you move.
Beyond practicality, they deliver a polished, high-end look that can transform any balcony, patio, or backyard into an inviting retreat. With a wide range of colors, patterns, and finishes available, it’s easy to match your style while adding long-lasting value and comfort to your outdoor space.
Common Installation Challenges & How to Avoid Them
Even with the simplicity of snap together outdoor deck tiles DIY setups, certain challenges can pop up if you’re not prepared. One common issue is inadequate drainage—if water can’t flow freely beneath the tiles, it may lead to pooling or surface damage over time. Another concern is tile movement, especially on uneven surfaces where the interlocking system can shift.
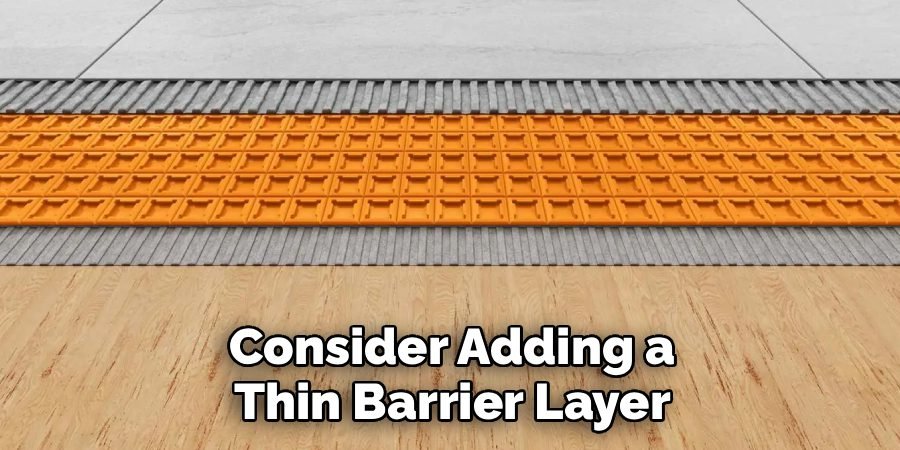
For renters, improper setup without a protective underlayer might cause marks or scratches on the existing flooring. To avoid these problems, always prepare a level base, ensure proper water runoff, and consider adding a thin barrier layer to prevent erosion. Addressing these small details upfront will help your deck tiles stay secure, look great, and last far longer.
Tools & Materials You’ll Need
For a smooth and stress-free snap together outdoor deck tiles DIY project, gathering the right tools and materials before starting is essential. Having everything at hand not only saves time but also ensures a professional-looking finish.
Tools:
- Measuring tape for accurate sizing
- Rubber mallet to secure tiles in place
- Utility knife for trimming edges
- Safety gloves to protect your hands
Materials:
- Snap together deck tiles of your choice
- Underlayment for added stability
- Edging strips for a clean border finish
- Landscape fabric to prevent weeds (optional)
- Waterproof sealant for extra protection (optional)
With this checklist ready, you can confidently begin your project knowing you have everything needed for durability and style.
10 Easy Steps to Snap Together Outdoor Deck Tiles DIY
Step 1: Plan Your Patio Layout
Start by sketching your desired patio size and shape on paper. Measure the area carefully to determine how many tiles you’ll need for your snap together outdoor deck tiles DIY project. Consider walkways, furniture placement, and any curves or corners that might require trimming. A good plan ensures fewer mistakes and material waste.

If you’re working in a rental property, choose a layout that can be removed easily without damaging the surface underneath. Mark the boundaries clearly with chalk or tape so you can visualize the finished deck before you start.
Step 2: Prepare the Base Surface
A smooth and even base is key for long-lasting results. Clear the area of any debris, weeds, or rocks. For grass or dirt surfaces, use a shovel to level the ground. Concrete or paved areas may just need sweeping or pressure washing. Ensure there’s no standing water where you’ll install the tiles. An uneven base could cause tiles to shift over time, so spend extra time on preparation. This step sets the foundation for the rest of your snap together outdoor deck tiles DIY project.
Step 3: Lay an Underlayment for Extra Stability
An underlayment, such as landscape fabric or foam padding, adds comfort underfoot and prevents weed growth. On hard surfaces, a thin foam mat can also reduce noise and improve drainage. Cut the underlayment to size, ensuring it covers the entire patio area. Overlap seams by a few inches for extra protection.
This step is optional but highly recommended if you want a softer, more professional finish. It also helps extend the life of your snap together outdoor deck tiles DIY by reducing friction between the tiles and the base surface.
Step 4: Start in One Corner and Work Outward
Choose a starting corner, preferably the one most visible from your home. Place the first tile and snap the next one into place using the built-in connectors. Continue snapping tiles together in a straight line before moving on to the next row. This method keeps everything aligned and prevents awkward gaps.
Avoid forcing tiles if they don’t fit—check for debris or slight misalignments. Installing in rows ensures a neat appearance and makes it easier to correct mistakes early in the process.
Step 5: Make Necessary Cuts for a Custom Fit
Not every space will match the exact size of your tiles, so trimming may be necessary. Use a circular saw or jigsaw to cut tiles to size, following the manufacturer’s safety guidelines. Measure twice before cutting to avoid costly errors. Place trimmed pieces along less-visible edges to maintain a clean look in focal areas.
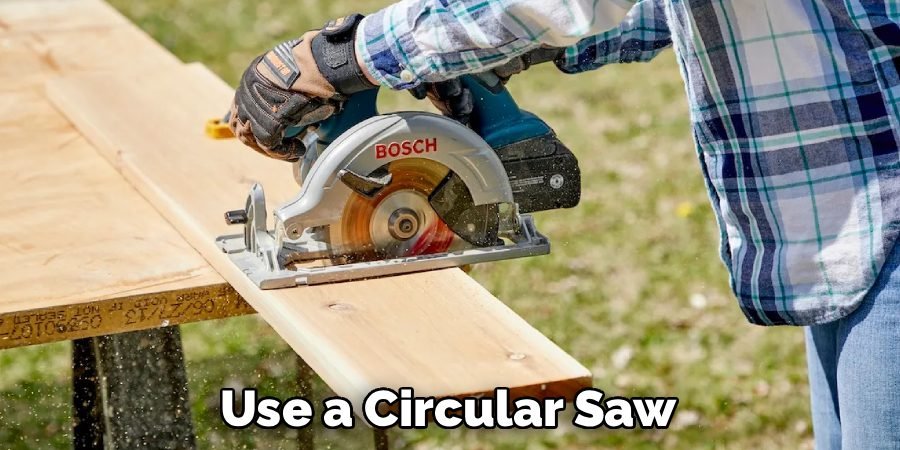
For a more polished result, consider adding trim pieces or edging strips. These small details can make your snap together outdoor deck tiles DIY project look professionally installed.
Step 6: Lock Tiles Together Securely
Once you’ve placed the full tiles and cut pieces, go over the entire surface to ensure all connections are locked. Press down firmly on each joint or use a rubber mallet for extra security. Loose connections can lead to movement and uneven wear over time. This is especially important for outdoor setups exposed to heavy foot traffic.
A solid lock between snap together outdoor deck tiles DIY gives your patio a seamless, sturdy feel that’s both functional and visually appealing for years to come.
Step 7: Address Drainage and Water Flow
Outdoor spaces require proper drainage to prevent water damage. Make sure your tiles are slightly sloped away from your home to direct water runoff. Many deck tiles are designed with built-in channels to improve water flow. If you live in a rainy climate, consider adding a thin gravel layer underneath for better drainage.
Good water management not only protects the tiles but also keeps the base surface in better condition. This step is crucial for snap together outdoor deck tiles DIY projects in wetter regions.
Step 8: Add Finishing Touches Around the Edges
The edges of your deck can make or break the overall look. Add border tiles, edging strips, or decorative trim to give a polished finish. This step also prevents tripping hazards and keeps the layout secure. You can even integrate potted plants or small planters along the edge to blend the patio into your landscape.
For more inspiration, check out our DIY Garden Structure ideas that complement tile flooring beautifully and create a cohesive outdoor space.
Step 9: Test Stability and Make Adjustments
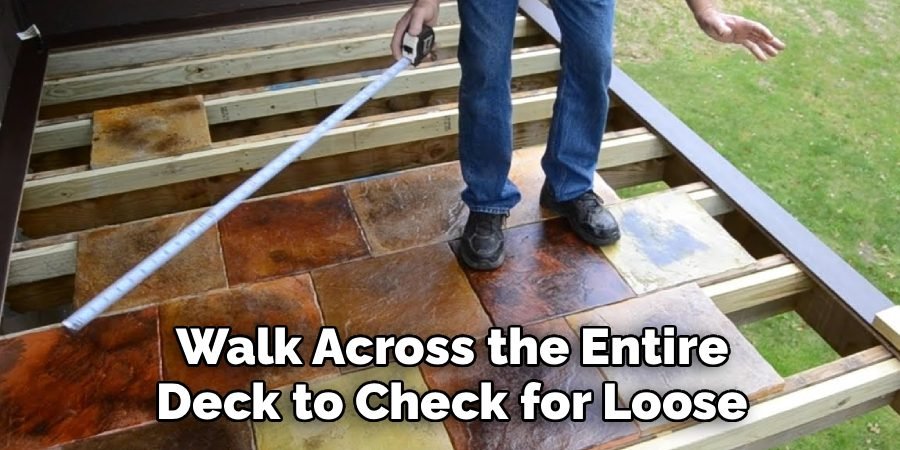
Walk across the entire deck to check for loose or uneven spots. Apply gentle pressure to identify areas that might need extra securing. If a tile feels unstable, remove it, check the connectors, and reinstall. Adjust any edges that have shifted during installation. Testing stability now will prevent issues later when the patio is in regular use.
For combined features, you can explore budget-friendly outdoor flooring ideas to pair with your new deck tiles for an even more versatile space.
Step 10: Enjoy and Maintain Your New Deck
Once installed, give your new outdoor deck a good cleaning to remove dust or debris from the installation. Arrange your furniture, plants, or décor, and enjoy the fresh, updated space. To keep it in top shape, sweep regularly and wash as needed with mild soap and water. Every few months, check for loose tiles or signs of wear. With proper care, your snap together outdoor deck tiles DIY project will last for years, offering a durable and attractive outdoor living area.
Common Mistakes to Avoid
When working on your snap together outdoor deck tiles DIY project, there are several mistakes you should avoid to ensure your deck lasts for years:
- Skipping proper base preparation can lead to shifting tiles or surface instability over time.
- Ignoring the need for a quality underlayment, which helps with stability, cushioning, and moisture protection.
- Misaligning tiles during installation and not checking for straight lines as you progress.
- Using low-quality tiles that may warp, crack, or fade under heavy use or harsh weather.
- Rushing through the project without following each step carefully and methodically.
Avoiding these errors will help your outdoor space remain attractive, durable, and safe for long-term enjoyment.
Maintenance Tips for Longevity
Keeping your snap together outdoor deck tiles DIY project looking great year-round requires consistent care:
- Apply a UV-protective sealant to prevent fading and sun damage, especially in high-exposure areas.
- Sweep debris regularly and rinse with a garden hose to avoid dirt buildup between tiles.
- Use a mild soap solution and a soft brush for deep cleaning without scratching the surface.
- In snowy climates, remove heavy snow promptly to prevent excess moisture and ice damage.
- Store any loose or seasonal tiles indoors during harsh winters to extend their lifespan.
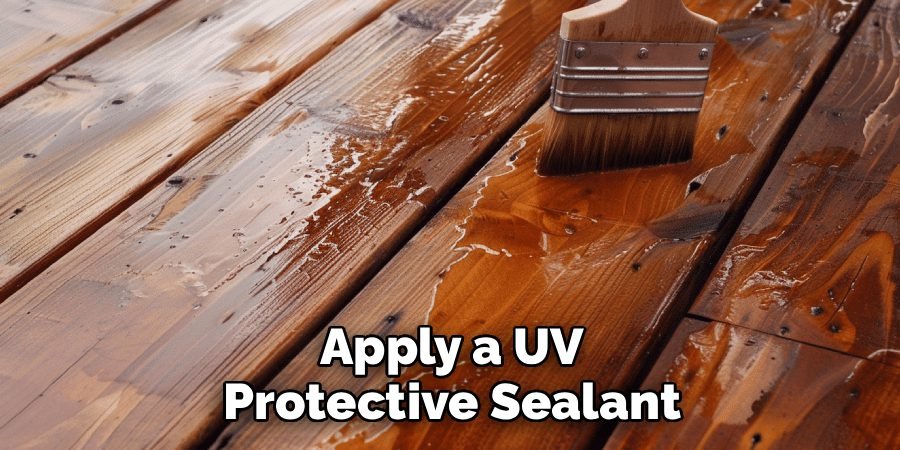
By following these maintenance steps, you’ll ensure your deck stays functional, attractive, and ready for use through every season.
Cost, Timing & Space Calculation
Here’s a quick reference to help you plan your snap together outdoor deck tiles DIY project efficiently:
| Item | Estimated Cost (USD) | Notes |
| Deck Tiles (per sq. ft.) | $3 – $6 | Varies by quality and style |
| Underlayment (optional) | $0.50 – $1 | For added stability & drainage |
| Tools & Accessories | $20 – $50 | Basic tools like a saw & mallet |
Timing: Average setup takes 3–5 hours for a 100 sq. ft. patio.
Space: Measure area in sq. ft. (Length × Width) to calculate tile count.
This table makes it easy to budget, plan, and avoid costly surprises.
Frequently Asked Questions
How Long Do Snap Together Outdoor Deck Tiles DIY Projects?
When installed and cared for properly, snap together outdoor deck tiles DIY projects can last 7–10 years or longer. Durability depends on the tile material, climate conditions, and how well you maintain it over time.
Can I Install Them Over Grass or Dirt?
Yes, but you’ll get the best results by adding a stable base, such as compacted gravel or pavers, before laying the tiles. This reduces shifting, improves drainage, and ensures the surface stays level.
Are They Suitable for Renters?
Definitely, these tiles are ideal for renters because they can be easily removed without causing damage. You can even reuse them in a new space. For more rental-friendly ideas, check our budget patio flooring guide.
Do They Require Special Maintenance?
Not really. Sweep regularly to keep debris away, wash with mild soap and water, and apply a UV-protective seal once a year. This will help maintain color, prevent fading, and extend the tiles’ lifespan.
Conclusion
Transforming your patio or balcony is easier than you think with a snap together outdoor deck tiles DIY project. These versatile tiles offer a quick, stylish, and renter-friendly way to refresh any outdoor space without the need for complex tools or permanent installation. By following the right steps, preparing your base, and maintaining your tiles regularly, you can enjoy a durable and beautiful surface for years to come.
If you’re ready to start your upgrade, explore our other creative outdoor flooring and backyard makeover ideas for even more inspiration. Your perfect outdoor space is just one project away—so grab your tools, get inspired, and start building today!
You Can Check It Out to Painted Checkerboard Concrete Patio DIY

Hey there! I’m Ryan J. Cooper, a DIY enthusiast with over a decade of hands-on backyard experience. At YardFixes.com, I share practical, real-life tips to help you build, repair, and transform your outdoor spaces—no matter your skill level.

