If your plain concrete patio feels more “blah” than “beautiful,” a quick, budget-friendly transformation might be exactly what it needs. The painted checkerboard concrete patio DIY approach gives your outdoor space a timeless, high-end look without the need to spend thousands on new flooring. Whether you’re hosting weekend barbecues, enjoying quiet mornings with coffee, or simply looking for a stylish backdrop for your plants and furniture, this project delivers instant charm.
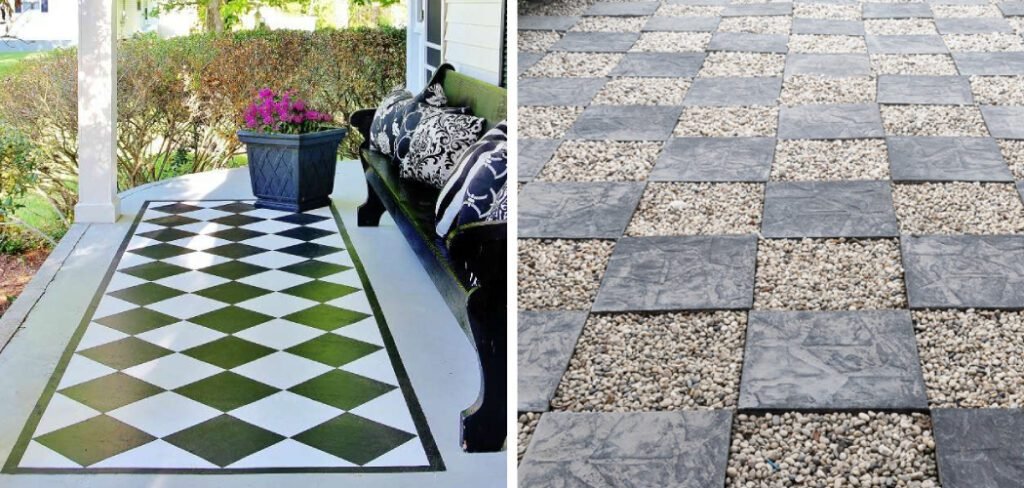
In this guide, you’ll learn exactly how to prep, paint, and seal a checkerboard pattern that lasts season after season. We’ll cover the tools, materials, step-by-step process, and pro tips for clean lines and durable results—making it easy for even first-time DIYers to succeed. Get ready to turn dull concrete into an outdoor statement piece.
Benefits of Painted Checkerboard Concrete Patio
Choosing a painted checkerboard concrete patio DIY project isn’t just about looks—it’s about combining style, durability, and affordability in one upgrade. The bold checkerboard pattern instantly elevates your outdoor space, giving it a designer-inspired feel without the cost of installing new pavers or tiles.
This design is also highly versatile, working with both classic and modern décor styles, and can be customized with any color combination to match your home’s personality. Beyond aesthetics, painting your existing concrete helps protect it from weather damage, stains, and surface wear, potentially extending its lifespan. It’s also a low-maintenance option—sweep and rinse as needed to keep it fresh.
For homeowners who want quick results, this DIY project can often be completed in a weekend, making it perfect for boosting curb appeal before an event or seasonal change. In short, it’s a stylish, practical, and budget-smart choice for any backyard.
Planning Your Checkerboard Patio Layout
Before you start painting, taking time to plan your checkerboard patio layout ensures a professional, even finish. Begin by measuring the full dimensions of your concrete patio, then decide on the size of each square. Most DIYers choose between 12-inch and 24-inch squares, but the key is to pick a size that divides evenly into your patio’s length and width.
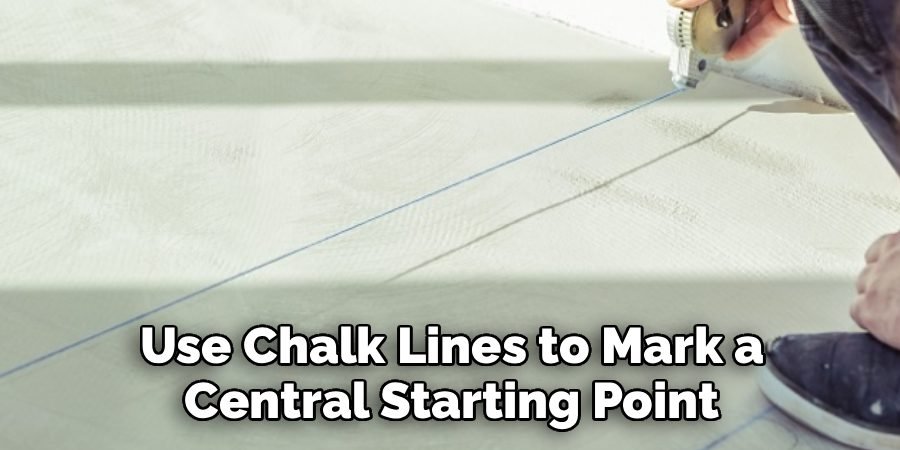
Use chalk lines to mark a central starting point—this helps your design stay balanced from the middle outwards rather than ending with awkward half-squares along the edges. A quality tape measure, straightedge, and painter’s tape are essential for creating crisp lines. If your patio isn’t perfectly square or has curves, adjust your pattern to maintain symmetry where it’s most visible.
This careful planning stage prevents costly mistakes and ensures your painted checkerboard concrete patio DIY project looks polished and intentional.
Tools and Materials You Will Need
Having the right supplies ready will make your painted checkerboard concrete patio DIY project go smoothly from start to finish. Organize everything beforehand so you can work without interruptions.
Tools:
- Tape measure – for accurate square dimensions
- Chalk line – to create straight layout lines
- Straightedge or ruler – for crisp measurements
- Paint roller and tray – to apply paint evenly
- Small angled brush – for edges and corners
- Painter’s tape – to define the checkerboard pattern
- Drop cloth – to protect surrounding areas.
Materials:
- Exterior-grade concrete paint in two contrasting colors
- Concrete cleaner or degreaser – for surface prep
- Concrete patch or filler – to repair cracks before painting
- Exterior sealer – to protect the design from weather and wear
- Sandpaper – for smoothing rough spots after cleaning
With these tools and materials on hand, you’ll be ready to tackle each step of your patio transformation confidently.
Painted Checkerboard Concrete Patio DIY: 10 Easy Steps
Step 1: Measure and Plan
Begin by measuring the precise dimensions of your patio and deciding on the square size you’ll use. Aim for squares that divide evenly into both the length and width to prevent awkward edge pieces. Establish a central reference point, then snap chalk lines to create an accurate grid. Doing thorough layout work upfront prevents mistakes later and keeps the pattern centered.

For this painted checkerboard concrete patio diy, double-check all measurements and think about furniture placement before you tape. Sketch the grid on paper.
Step 2: Clean and Prep the Surface
Proper surface preparation is essential for paint adhesion and longevity. Start by sweeping away loose debris, then use a stiff brush and concrete cleaner to remove dirt, mildew, and oil stains. For heavy grime, rent a pressure washer and apply cleaner according to manufacturer’s instructions, then allow the patio to dry completely.
Patch any small pits with concrete patch compound and sand smooth after curing. For this painted checkerboard concrete patio diy, ensure the surface is bone-dry before applying primer or paint.
Step 3: Repair Cracks and Level
Small cracks or uneven spots will show through paint if left untreated, so take time to fix them properly. Remove loose material from cracks with a screwdriver or chisel, then fill with a concrete patching mix and smooth with a trowel. For larger depressions, use a self-leveling compound following product instructions and allow full cure time.
After repairs are cured, sand any high spots to create an even plane. These repairs are critical for a professional finish on your painted checkerboard concrete patio diy.
Step 4: Prime the Concrete Surface
Applying a quality concrete primer improves paint adhesion and reduces the risk of peeling down the line. Choose a primer recommended for exterior concrete and follow the manufacturer’s drying times closely. Use a roller for open areas and a brush for edges to ensure full coverage.
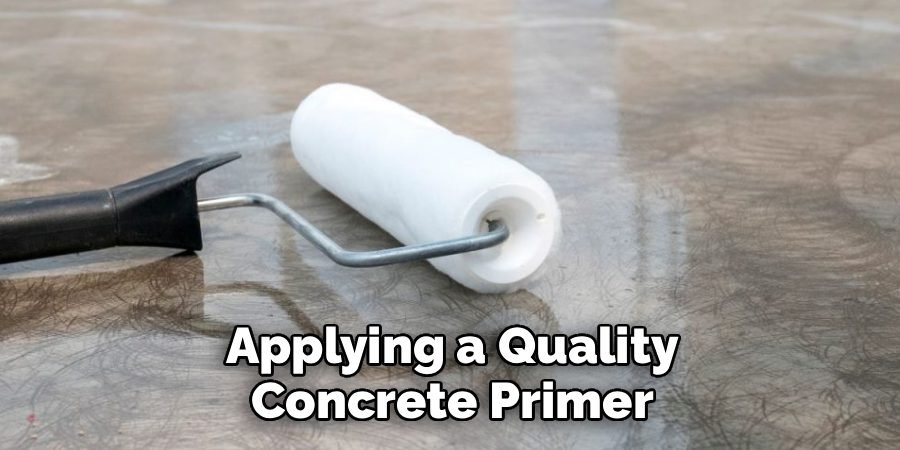
If the patio is in a humid climate, allow extra drying time and consider a primer with mold inhibitors. Proper priming is an investment that pays off with longevity in your painted checkerboard concrete patio diy project.
Step 5: Layout And Tape Your Grid
With primer cured, re-snap your chalk grid and measure each square to confirm alignment. Use high-quality painter’s tape to define the edges, pressing firmly to avoid bleeding. Tape from the center outward for the most balanced look, and run a putty knife along tape edges to seal. Consider using a reusable T-square or straightedge for consistent alignment, especially on larger patios.
Accurate taping and sealing are the backbone of crisp lines in a painted checkerboard concrete patio diy, so take your time.
Step 6: Apply The Base Paint Color
Start by rolling the lighter or chosen background color across the whole squares designated as base. Work in small sections and use a brush to cut in along taped edges before rolling to avoid lap marks. Apply paint in thin, even coats—two light coats usually beat one heavy coat. Allow full drying time between coats per product recommendations.
For best results during this painted checkerboard concrete patio diy, keep a wet edge and maintain consistent stroke direction to minimize visible texture differences overall.
Step 7: Paint The Contrasting Squares
After the base coats dry fully, mask off the squares that will remain the base color and begin painting the contrasting squares. Use a high-density roller for smooth coverage and apply two thin coats. Move methodically across the grid to ensure even coverage and color depth. If any bleeding occurs, wait until the paint fully dries before touching up.
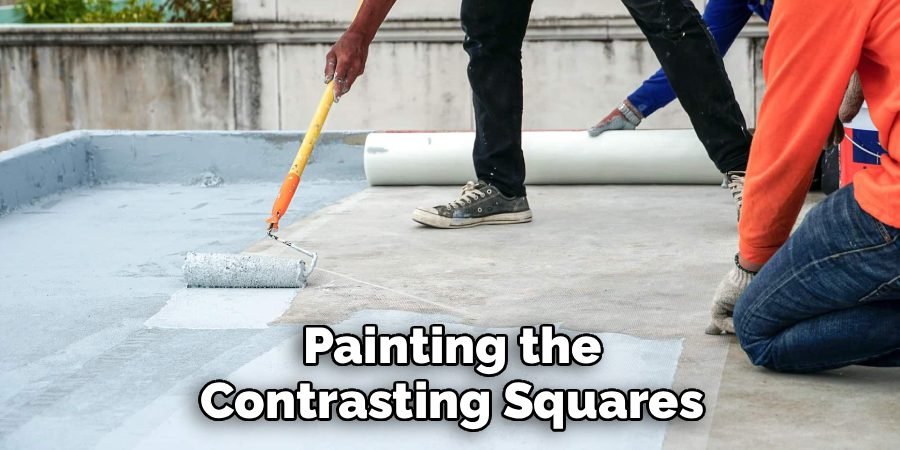
These finishing layers make your pattern pop in a painted checkerboard concrete patio diy, so keep strokes steady and even and inspect from several angles.
Step 8: Remove Tape And Touch Up
Once all paint coats have dried to the manufacturer’s recommended time, carefully remove the painter’s tape at a 45-degree angle. Pull slowly and inspect edges; if small paint lifts occur, wait until paint fully cures before repairing. Use a small angled brush for precise touch-ups and feather color into adjacent squares to hide hard lines.
Clean up stray drips with sandpaper or a damp cloth. Careful touch-ups ensure the final pattern looks crisp and intentional. Step back to check overall alignment regularly.
Step 9: Seal And Cure The Surface
After all paint is dry and touch-ups are finished, apply a high-quality exterior concrete sealer to protect the design from UV, moisture, and foot traffic. Choose a sealer compatible with your paint brand—test a small area. Apply sealer in thin, even coats with a roller or sprayer and follow the recoat times on the label.
Avoid heavy foot traffic until the sealer cures. Proper sealing is essential to ensure years of wear resistance and color retention for your patio. Allow adequate curing.
Step 10: Final Styling And Care
Once the sealer fully cures and your checkerboard pattern is set, style the patio with furniture and outdoor rugs that complement the new design. Choose non-marring furniture feet or protective pads to avoid scuffs and add planters to anchor focal points. Sweep regularly and avoid dragging heavy objects across the painted surface.

For seasonal care, cover furniture during storms and reapply sealer every one to three years, depending on wear. Photograph the finished space and note areas needing touch-ups next season for longevity, just like you would with a DIY bamboo trellis.
Common Mistakes to Avoid
Even though a painted checkerboard concrete patio DIY project is beginner-friendly, there are a few pitfalls that can ruin your hard work if you’re not careful. Watch out for these common mistakes to keep your results flawless:
- Skipping Surface Prep – Failing to clean, patch, and smooth the concrete will cause paint to peel or chip prematurely.
- Using the Wrong Paint Type – Interior paint or low-quality exterior products won’t withstand weather exposure and foot traffic.
- Inaccurate Measurements – Not double-checking your grid layout can leave uneven squares and throw off the checkerboard pattern.
- Neglecting Tape Quality – Cheap painter’s tape can bleed paint underneath, leaving jagged lines.
- Rushing the Dry Time – Walking on or decorating the patio before the paint fully cures can leave marks or dents.
- Skipping the Sealer – Without sealing, the pattern will fade faster and be more vulnerable to stains.
Maintenance Tips for Longevity
Keeping your painted checkerboard concrete patio DIY in top shape requires a little routine care and attention. Follow these tips to extend its beauty and durability:
- Sweep Weekly – Remove dirt, leaves, and debris to prevent surface scratching and staining.
- Wash Gently – Use a mild soap and water solution with a soft-bristle brush instead of harsh chemicals or pressure washing.
- Reapply Sealer Regularly – Add a fresh coat of outdoor concrete sealer every one to three years to protect against moisture and UV damage.
- Protect from Furniture Damage – Use felt pads, rubber feet, or outdoor rugs to prevent scrapes and scuffs from heavy items.
- Avoid Dragging Heavy Objects – Lift instead of sliding to prevent chipping the painted surface.
- Touch Up as Needed – Keep leftover paint for quick touch-ups to maintain crisp lines and vibrant colors year after year.
Frequently Asked Questions
How Long Will a Painted Checkerboard Concrete Patio Last?
When done correctly, a painted checkerboard concrete patio DIY project can last 5–7 years before it needs a refresh. Longevity depends on factors like prep quality, the type of paint used, local climate, and how often the surface is maintained. Applying a clear concrete sealer every one to three years is the best way to keep colors crisp and protect against moisture, UV rays, and foot traffic.
Can I Paint Over an Old Concrete Patio?
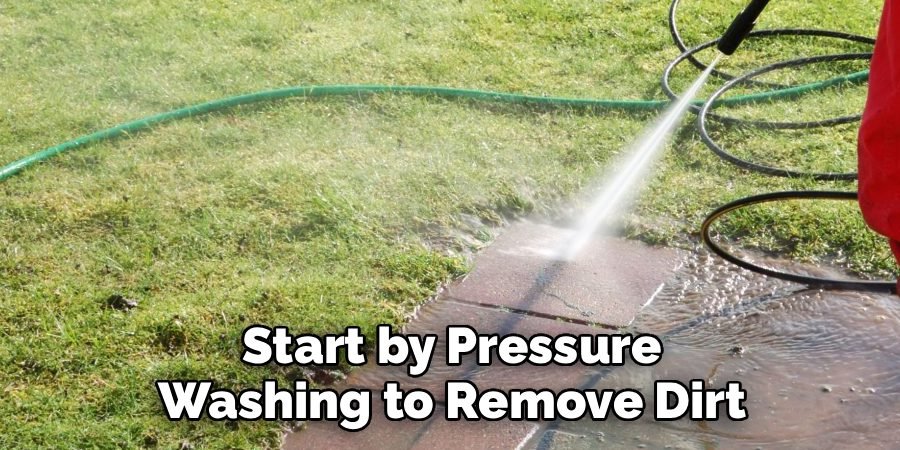
Yes, as long as the surface is properly prepped. Start by pressure washing to remove dirt and stains, patch any cracks, and sand down rough spots. Applying a concrete primer helps the new paint bond better and last longer.
What Paint Works Best for This Project?
Exterior-grade concrete paints or porch-and-floor enamels are ideal because they resist peeling, fading, and chipping. Pairing them with a UV-protective sealer ensures a long-lasting finish.
How Can I Incorporate Other DIY Patio Features?
You can pair this design with other budget-friendly upgrades. For inspiration, see our guide on budget pallet patio flooring ideas to combine different textures and styles, creating a unique outdoor living area that feels custom-made for your space.
Conclusion
Transforming your outdoor space with a painted checkerboard concrete patio DIY is a budget-friendly way to achieve a timeless, high-impact look without hiring a contractor. With the right preparation, materials, and care, this project can elevate your patio’s style while offering years of durability. Whether you’re hosting backyard gatherings, creating a cozy reading spot, or simply upgrading your curb appeal, the bold checkerboard pattern adds instant charm.
Don’t forget—success comes from careful planning, accurate measurements, and ongoing maintenance. Now that you know the steps, grab your tools, pick your paint colors, and start bringing your vision to life. Your dream patio is just a weekend project away!
You Can Check It Out to DIY Pallet Garden Trellis for Tomatoes

Hey there! I’m Ryan J. Cooper, a DIY enthusiast with over a decade of hands-on backyard experience. At YardFixes.com, I share practical, real-life tips to help you build, repair, and transform your outdoor spaces—no matter your skill level.

