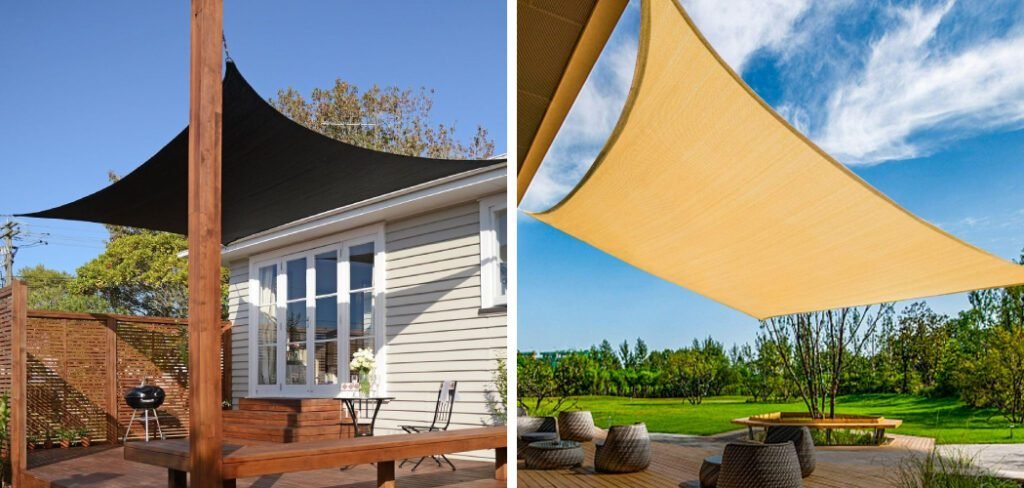
Are you tired of scorching summer heat ruining your outdoor relaxation time? You’re not alone. Thousands of homeowners struggle with finding affordable shade solutions for their patios, decks, and backyard spaces. Store-bought shade sails cost between $200-400 for decent quality options. Professional installation adds another $150-300 to your bill. That’s a hefty investment for something you can create yourself.

But here’s the exciting news. Learning how to make a shade sail at home requires no special expertise or expensive equipment. With basic sewing skills and materials costing under $60, you can craft a custom shade solution in just one weekend.
This comprehensive guide will teach you everything you need to know. You’ll discover fabric selection secrets used by professionals. You’ll master construction techniques that ensure durability. By the end, you’ll have the confidence to tackle how to make a shade sail at home and enjoy personalized outdoor comfort.
Benefits Of Making Your Own Shade Sail
Creating your own shade sail offers remarkable advantages over purchasing pre-made options. Cost savings alone make this project worthwhile. Materials typically cost $30-60 compared to $180-350 for similar store-bought versions. Time investment pays dividends, too. Most shade sail at-home projects take just 4-6 hours from cutting to installation. Compare that to weeks of shipping delays and scheduling professional installers.
Customization control sets DIY apart from retail options. You choose exact dimensions for your space. You select fabric colors and UV protection levels. You decide on attachment point locations for optimal coverage. Environmental benefits matter in today’s world. Making your own sail reduces packaging waste and shipping emissions. You’ll also develop valuable skills that transfer to other home improvement projects. The confidence gained from successful completion encourages future DIY adventures.
Essential Materials And Tools You Need
Right materials ensure your how to make a shade sail at home project succeeds from the start. Quality components withstand weather exposure better than cheaper alternatives.
Materials:
- UV-resistant outdoor fabric or marine canvas
- Heavy-duty grommets and grommet installation tool
- Reinforcing webbing and marine-grade polyester thread
- D-rings or heavy-duty carabiners for attachment points
Tools:
- A sewing machine capable of sewing heavy fabric
- Sharp fabric scissors and measuring tape
- Iron for pressing seams and marking chalk
These basic supplies handle most shade sail construction projects effectively and affordably.
10 Easy Steps To Make Your Shade Sail
Step 1: Perfect Space Measurement And Design Planning
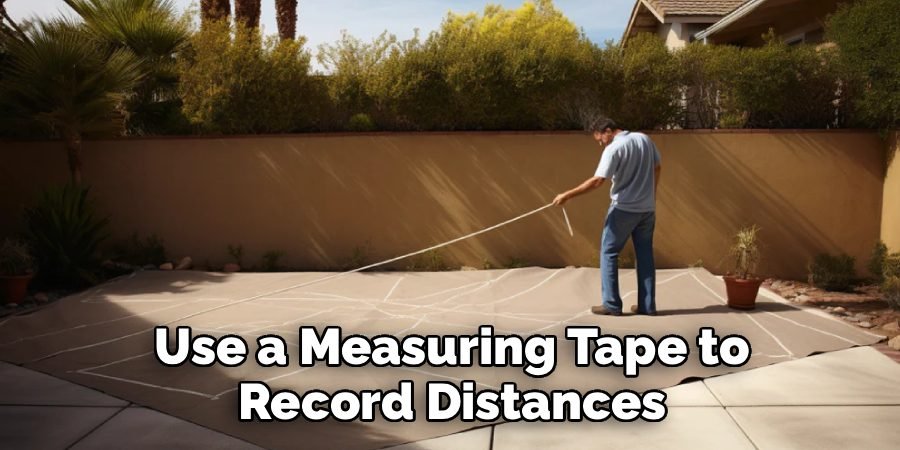
Start by measuring your intended installation area carefully. Use a measuring tape to record distances between mounting points. Take multiple measurements to ensure accuracy. Sketch your design on paper with exact dimensions noted. Consider sun angles throughout the day for optimal placement. Account for seasonal sun path changes that affect shade coverage.

Document wind patterns in your area, too. Strong prevailing winds require additional reinforcement considerations. Planning thoroughly at this stage prevents costly mistakes during construction work.
Step 2: Choose The Right Fabric And Calculate Yardage
Select a fabric weight appropriate for your climate conditions. Lightweight fabrics work in mild areas but tear easily in windy locations. Heavy-duty canvas provides durability but requires more robust mounting hardware. Calculate fabric requirements using your design measurements. Add 6 inches to each dimension for seam allowances and hemming. Purchase 10% extra fabric to account for cutting mistakes or future repairs.
UV protection ratings matter for longevity when learning how to make a shade sail at home. Look for fabrics rated SPF 50+ for maximum sun protection. Quality outdoor fabrics last 5-7 years with proper maintenance.
Step 3: Cut Fabric Pieces With Proper Curve Allowance
Lay fabric on a large flat surface for accurate cutting. Mark is cutting lines using chalk or washable markers. Double-check all measurements before making any cuts. Cut slight curves along the edges instead of straight lines. Curved edges prevent water pooling and reduce stress concentrations. Remove approximately 6 inches of material from the center of each edge.
Take your time with cutting precision. Straight, clean cuts make sewing much easier later. Sharp fabric scissors prevent fraying during the cutting process.
Step 4: Reinforce Edges With Double-Fold Hem Construction
Create double-fold hems along all edges for strength and appearance. Fold the fabric edge over 1 inch, then fold again another 2 inches. Press with an iron for crisp creases. Pin hems in place before sewing to prevent shifting. Use marine-grade thread that resists UV degradation and moisture damage. Sew with straight stitches, maintaining consistent seam allowances.

Test your sewing machine tension on fabric scraps first. Heavy fabrics may require tension adjustments for optimal stitch quality. Proper hemming prevents edge fraying during how to make a shade sail at home construction and use.
Step 5: Add Corner Reinforcement Patches For Strength
Cut triangular reinforcement patches from matching or contrasting fabric. Make patches approximately 8 inches per side for adequate load distribution. Position patches on both sides of each corner. Pin patches carefully before sewing to ensure perfect alignment. Sew around patch perimeters with multiple rows of stitching for maximum strength. Overlap stitching lines at stress points.
Corner reinforcement prevents the most common failure point in homemade sails. Extra material here handles the concentrated loads from mounting hardware effectively.
Step 6: Install Professional Grommets At Each Attachment Point
Mark grommet locations at each reinforced corner precisely. Space grommets evenly if using multiple attachment points per corner. Use manufacturer spacing recommendations for your chosen hardware. Cut small holes for grommet insertion using sharp scissors or a hole punch. Follow the grommet tool instructions exactly for proper installation. Improperly set grommets fail under load quickly.
Test each grommet installation by pulling firmly before proceeding. Loose grommets indicate installation problems that need immediate correction. Quality grommet installation is crucial for how to make a shade sail at home success and safety.
Step 7: Sew Reinforcing Webbing Along Load-Bearing Edges
Cut webbing strips slightly shorter than edge lengths to prevent bunching. Position webbing on the underside of hem areas for a clean appearance. Pin securely before sewing. Sew webbing with zigzag stitches for flexibility under load. Multiple stitch rows distribute stress better than single heavy seams. Pay special attention to webbing ends where stress concentrates.

Quality webbing adds minimal weight while dramatically improving how to make a shade sail at home. This step separates professional-quality results from amateur construction attempts.
Step 8: Create Secure Attachment Points With D-Rings
Thread D-rings through corner grommets before final installation. Choose D-rings rated for outdoor use and appropriate load capacity. Stainless steel options resist corrosion best. Position D-rings consistently for balanced load distribution. Test ring movement to ensure smooth operation without binding. Replace any rings showing wear or damage immediately.
Secure attachment points handle daily stress cycles without failure. Quality hardware here determines overall sail longevity and safety.
Step 9: Test Fit And Make Final Adjustments
Temporarily install your completed sail using light tension for initial testing. Check corner alignment and overall shape satisfaction. Make note of any adjustment areas needing attention. Adjust corner positions if necessary for improved fit. Trim excess material carefully if bunching occurs anywhere.
Perfect fit ensures optimal how to make a shade sail at home performance and appearance. Document any changes made during test fitting for future reference. These notes help with maintenance and potential modifications later.
Step 10: Install Your Homemade Shade Sail Successfully
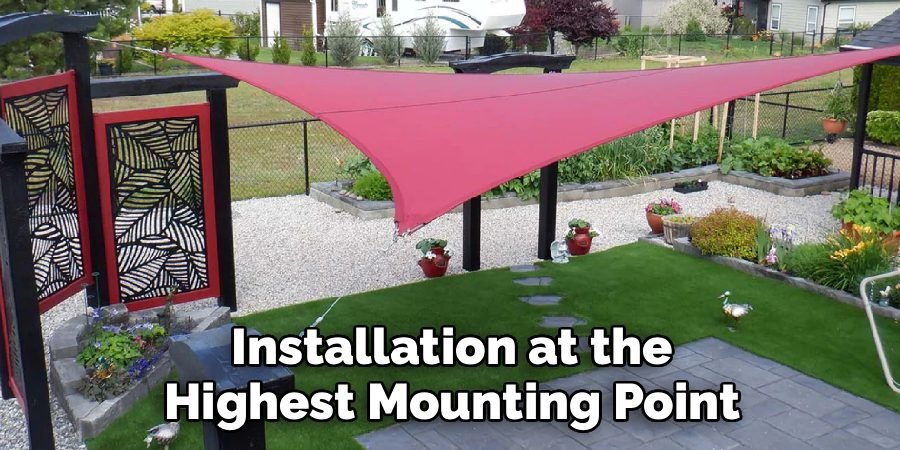
Begin installation at the highest mounting point, working systematically downward. Apply moderate tension gradually rather than maximum force immediately. Check alignment frequently during the installation process. Use appropriate hardware for your mounting surfaces. Concrete anchors work differently from wood screws or metal brackets.

For compact outdoor areas, explore our DIY balcony privacy solutions to maximize space efficiency. Final tension adjustments optimize both appearance and performance. Proper installation techniques ensure your how to make a shade sail at home project provides years of reliable service.
Common Construction Mistakes
Avoiding these errors ensures your how to make a shade sail at home project succeeds on the first attempt.
- Choosing the Wrong Fabric Weight – Lightweight fabrics tear easily under tension and weather exposure.
- Skipping Curve Calculations – Straight edges create stress points that cause premature sagging and failure.
- Inadequate Corner Reinforcement – Corners bear maximum loads and require extra material support.
- Poor Grommet Placement – Uneven spacing causes fabric bunching and creates weak points.
- Under-tensioning During Install – Loose sails flap excessively and wear out quickly.
Taking time to avoid these mistakes saves money and prevents future repair needs.
Care And Storage Tips
Proper maintenance extends your how to make a shade sail at home project lifespan significantly.
- Clean Fabric Quarterly – Use mild soap and water to remove dirt, mildew, and debris buildup.
- Remove During Severe Weather – High winds and hail can damage even well-constructed sails.
- Store in a Dry Location During Winter – Prevents mold growth and fabric deterioration during storage.
- Inspect Grommets Annually – Replace worn or damaged hardware before complete failure occurs.
- Re-waterproof Every 2-3 Years – Apply fabric protection spray to maintain UV resistance.
Following these maintenance steps keeps your shade sail looking great for years to come.
Frequently Asked Questions
What Type Of Fabric Works Best For Homemade Shade Sails?
UV-resistant outdoor fabric or marine canvas works best for how to make a shade sail at home projects. Look for fabric rated at least 200 GSM weight with SPF 50+ UV protection. Canvas duck, ripstop nylon, and solution-dyed acrylic all provide excellent durability for outdoor use.

How Much Money Can I Save Making My Own Shade Sail?
DIY construction typically costs $30-60 in materials versus $180-350 for comparable store-bought sails. Time investment of 4-6 hours saves $150-300 in professional installation costs. Total savings range from $250-600, depending on size and quality comparisons.
Do I Need A Special Sewing Machine?
Standard home sewing machines handle most shade sail fabrics when learning how to make a shade sail at home. Use heavy-duty needles (size 16-18) and marine-grade thread for best results. Adjust tension settings for thick materials and sew slowly for consistent stitches.
How Long Does A Homemade Shade Sail Last?
Properly constructed homemade sails last 3-5 years with regular maintenance. Quality fabric and reinforcement construction determine longevity. UV exposure, wind conditions, and maintenance frequency all affect lifespan. Premium materials can extend service life to 7+ years.
Conclusion
Mastering how to make a shade sail at home opens doors to affordable outdoor comfort solutions. The systematic approach outlined here ensures professional-quality results using basic materials and skills. Your completed shade sail provides immediate relief from harsh sun while adding visual appeal to outdoor spaces. The money saved compared to retail options pays for multiple future DIY projects.
Remember that quality construction takes time but delivers lasting satisfaction. Start your shade sail project this weekend and enjoy custom outdoor comfort all season long. The skills learned here apply to countless other home improvement adventures waiting ahead.

Hey there! I’m Ryan J. Cooper, a DIY enthusiast with over a decade of hands-on backyard experience. At YardFixes.com, I share practical, real-life tips to help you build, repair, and transform your outdoor spaces—no matter your skill level.

