If you’re dreaming of growing fresh vegetables, herbs, or flowers in your backyard, learning how to build a raised garden bed with cedar boards is a great place to start. Raised beds not only offer excellent drainage and soil control but also minimize weeds, improve accessibility, and add a clean, attractive look to your outdoor space. Cedar boards are especially ideal for this project because they naturally resist rot, insects, and moisture—meaning your garden bed will last for many seasons with minimal upkeep.
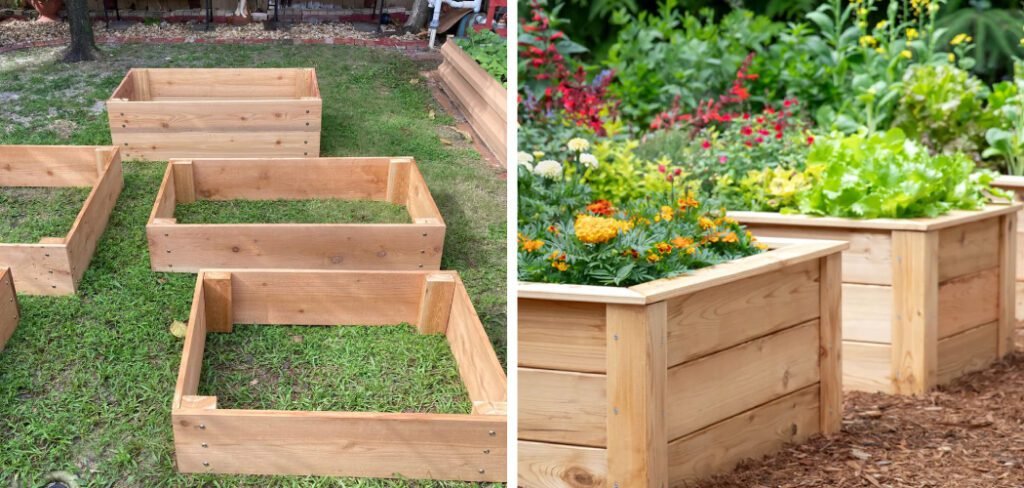
Whether you’re a seasoned gardener or trying this for the first time, building a cedar raised garden bed is a simple DIY project that doesn’t require advanced tools or carpentry skills. You can customize the dimensions to fit your space and grow what you love—all while avoiding the bending and digging required in traditional ground-level gardens.
In this guide, we’ll walk you through every step of how to build a raised garden bed with cedar boards, from choosing the right wood to assembly and maintenance. With the right prep and a little effort, your garden will be ready to thrive.
Choosing the Right Cedar Boards for Your Garden Bed
Selecting the right type of cedar is crucial when deciding how to build a raised garden bed with cedar boards. Cedar is naturally rot-resistant, insect-repellent, and chemical-free—making it a safe and long-lasting material for growing vegetables. Look for boards labeled “Western Red Cedar” or “Eastern White Cedar.” These types offer the best durability for outdoor use.
Avoid pressure-treated lumber, as it may contain harmful chemicals that can leach into your soil and harm plants. Choose boards that are straight, free of major knots, and at least 1.5 inches thick to support soil weight. For added strength, select boards labeled “premium” or “select grade.”
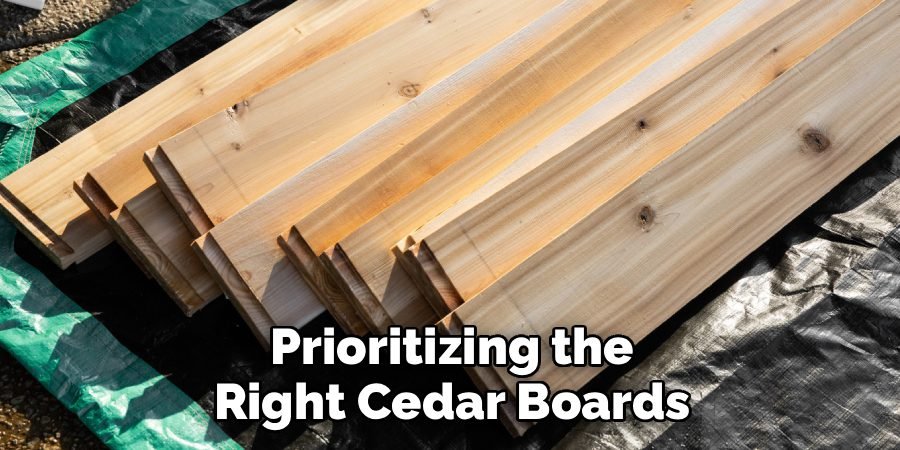
If possible, inspect boards in person at your local lumber yard to ensure quality. Prioritizing the right cedar boards ensures your raised bed remains strong and safe for many growing seasons.
Materials and Tools You’ll Need
Before you start building, gather the necessary materials and tools for how to build a raised garden bed with cedar boards. Choosing high-quality supplies will ensure your garden bed lasts for years.
Materials:
- Four 2×6 or 2×8 cedar boards (8 ft. length or your desired size)
- 2×2 or 4×4 cedar posts for corner support
- 3″ exterior-grade wood screws or deck screws
- Weed barrier or landscape fabric
- Organic soil and compost mix
Tools:
- Power drill or screwdriver
- Circular saw or hand saw
- Measuring tape
- Carpenter’s square
- Level
- Pencil and safety gloves
Using cedar boards is essential when learning how to build a raised garden bed with cedar boards because cedar’s natural resistance to decay and pests makes it perfect for long-term outdoor use. With these items ready, you’re well-prepared to start building your raised garden bed.
Step-by-Step Guide: How to Build a Raised Garden Bed with Cedar Boards
If you’re ready to transform your backyard with a durable and attractive raised garden, follow this step-by-step guide on how to build a raised garden bed with cedar boards. Each step is designed to help you plan, build, and plant efficiently—whether you’re new to gardening or looking to upgrade your setup.
Step 1: Choose the Ideal Location
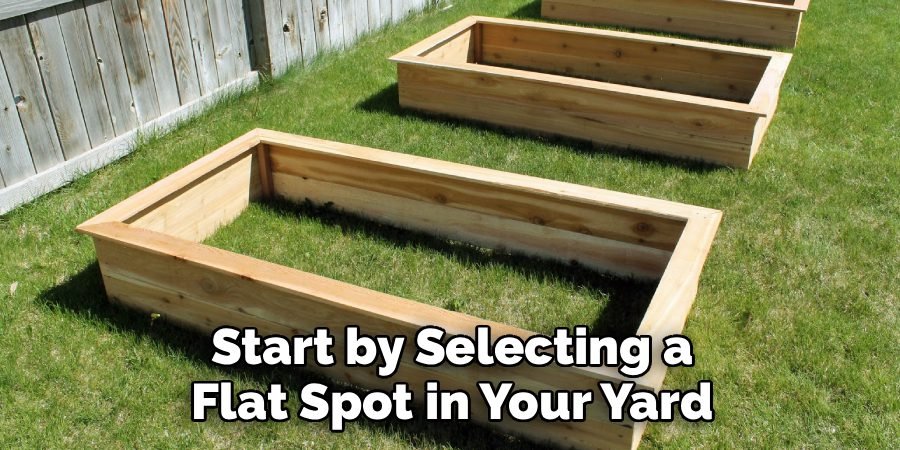
Start by selecting a flat, sunny spot in your yard. Tomatoes, peppers, lettuce, and most vegetables require at least 6–8 hours of direct sunlight per day. Make sure the area has good drainage and isn’t prone to flooding after rainfall. Avoid building near large tree roots that could compete for nutrients or disrupt the structure later.
Step 2: Measure and Mark Your Bed Dimensions
Use a tape measure to decide on the size of your raised garden bed. A common size is 4 feet wide by 8 feet long, which provides enough space for a variety of plants while still being accessible from all sides. Once you have your size, mark the perimeter on the ground with stakes and string. This gives you a clear visual guide before digging or cutting.
Step 3: Gather and Cut Your Cedar Boards
To build the frame, you’ll need rot-resistant cedar boards cut to size. For a 4×8 bed, you’ll typically need:
- Two 8-foot boards (for the long sides)
- Two 4-foot boards (for the short sides)
- Four corner posts, around 12–18 inches long
Cut the boards using a circular saw or hand saw. Cedar is ideal for this type of garden project because it naturally resists rot and insects, which is why so many gardeners choose cedar boards when learning how to build a raised garden bed with cedar boards.
Step 4: Assemble the Bed Frame
Lay your cut boards on a flat surface and attach the corners using deck screws or galvanized bolts. Secure each corner to a wooden stake or post for added strength. This frame is the foundation of your raised bed, so make sure everything is square and flush. Reinforce with L-brackets if needed for added durability over time.
Step 5: Level and Prepare the Ground
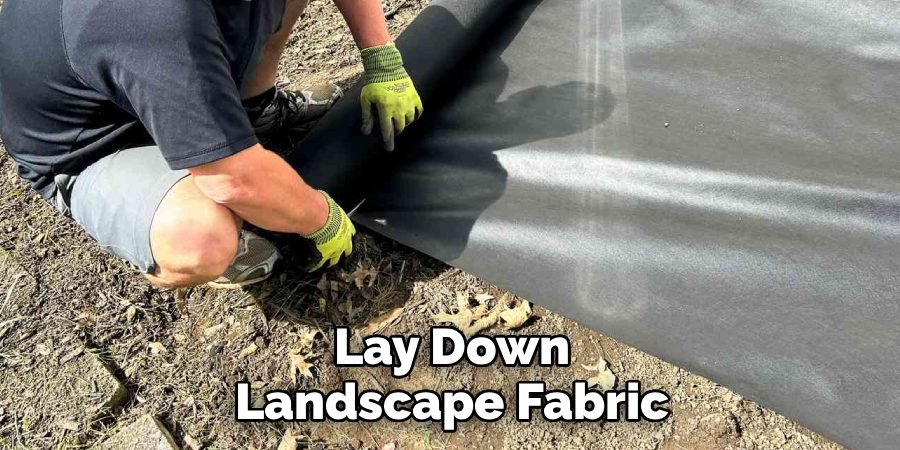
Before placing the bed on the ground, use a shovel or garden hoe to level the soil. Remove any large rocks, weeds, or grass within the marked area. This helps the frame sit flat and prevents uneven settling. Some gardeners like to lay down landscape fabric or cardboard underneath the bed to suppress weed growth from below.
Step 6: Position the Frame and Anchor It
Move the cedar frame into position and make sure it’s level. Check all sides with a level tool. Anchor the frame by hammering the corner stakes into the ground or by attaching metal garden stakes to the inside corners. This prevents shifting over time, especially during storms or when the soil is saturated.
Step 7: Add a Bottom Layer (Optional)
If you’re placing your bed on hard ground or a patio, consider adding a bottom layer of gravel or coarse wood chips for drainage. In most backyard settings, leaving the bottom open allows for natural drainage and root expansion. Still, layering with cardboard or straw helps prevent early weed growth and encourages composting over time.
Step 8: Fill the Bed with Soil
Use a mix of high-quality topsoil, compost, and peat moss or coco coir. A standard ratio is 60% topsoil, 30% compost, and 10% peat moss. This ensures optimal drainage and nutrient retention. Fill the bed to about 1–2 inches from the top to allow room for watering and mulch. If you’re building multiple beds, fill them all before planting to ensure uniform settling.
Step 9: Add Mulch and Plan Your Layout
Once the bed is filled, top it off with mulch like straw, wood chips, or shredded leaves. This helps retain moisture, suppress weeds, and regulate soil temperature. Plan your plant layout based on spacing recommendations. Companion planting—like placing basil near tomatoes—can improve yields and reduce pests.
Step 10: Start Planting and Water Thoroughly
Now comes the fun part: planting your seeds or seedlings! Follow planting depth and spacing instructions for each variety. After planting, water the entire bed slowly and deeply to help the soil settle around the roots. Over the next few days, monitor moisture levels and adjust your watering routine. Congratulations—you’ve just completed learning how to build a raised garden bed with cedar boards.
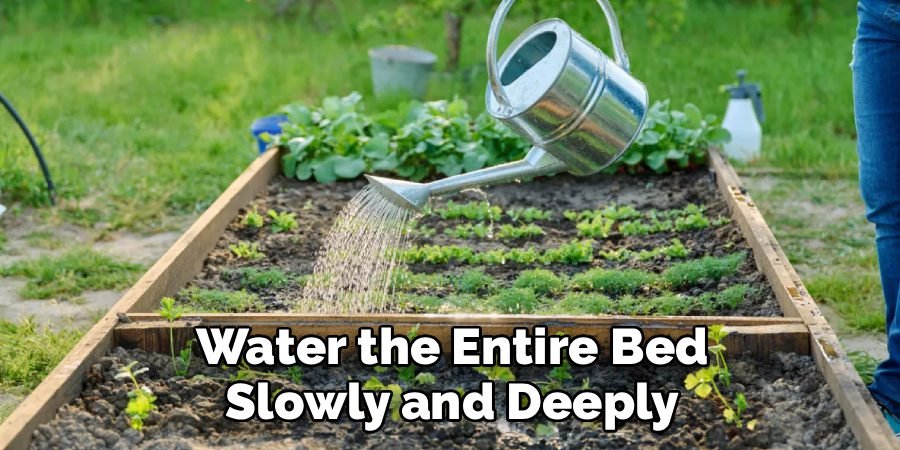
This step-by-step guide simplifies the entire process of how to build a raised garden bed with cedar boards while ensuring each step adds long-term success to your gardening project. With your cedar bed in place, you’re set up for years of productive, low-maintenance growing.
Common Mistakes to Avoid When Building a Cedar Raised Bed
- Using pressure-treated lumber instead of cedar. Pressure-treated wood contains harmful chemicals that can leach into your soil, especially when growing vegetables. Always use untreated cedar boards—they’re naturally rot-resistant and safe for edibles.
- Neglecting ground preparation. Failing to clear weeds, grass, or level the soil can lead to an unstable bed and poor drainage that harms root systems.
- Failing to level the frame. A sloped or uneven bed causes water runoff and uneven plant growth. Ensure the bed is level before filling it with soil.
- Using thin or low-quality boards. Cedar boards under 1 inch thick can warp, crack, or bow under pressure from soil and moisture.
- Ignoring proper drainage. Not providing drainage holes or using landscape fabric improperly can result in waterlogged roots and disease.
By avoiding these mistakes when learning how to build a raised garden bed with cedar boards, you’ll ensure your structure is solid and productive for years to come.
Maintenance Tips to Keep Your Raised Garden Bed in Top Shape
- Inspect the cedar boards each season for signs of wear, rot, or insect damage. Replace any damaged boards to preserve the structure.
- Apply a natural wood sealant annually to help protect the cedar from moisture and UV rays without harming your plants.
- Keep soil levels balanced by topping off with compost or fresh garden soil each season to maintain healthy growing conditions.
- Watch for loose screws or nails. Tighten or replace fasteners to keep the bed stable and safe for use.
- Avoid overwatering, which can cause wood to swell or rot prematurely. Use mulch to retain moisture and reduce stress on the boards.
- In winter, cover your bed with a tarp or remove the soil if needed to reduce freeze damage.
These simple maintenance steps help your cedar garden bed last for years.
Frequently Asked Questions
Can I Use Pressure-Treated Wood Instead of Cedar Boards?
It’s not recommended. Pressure-treated wood may contain chemicals that can leach into soil, potentially affecting edible crops. Cedar boards are naturally rot-resistant and free of harmful toxins, making them ideal for raised garden beds.

How Deep Should a Raised Garden Bed Be?
For most vegetables, a depth of 10 to 12 inches is sufficient. Deep-rooted crops like tomatoes and carrots may require 12 to 18 inches. When building a raised garden bed with cedar boards, consider stacking two 6-inch boards for optimal depth.
Do I Need to Line the Bottom of My Cedar Raised Bed?
Yes. Lining the bottom with landscape fabric helps prevent weeds and keeps soil from escaping while allowing drainage. Avoid using plastic liners, which can trap moisture and cause rot.
How Long Will a Cedar Raised Garden Bed Last?
With proper care and seasonal maintenance, a raised garden bed made from cedar boards can last 10 to 15 years. Cedar’s natural resistance to rot makes it a durable, long-term choice.
Conclusion
If you’ve been wondering how to build a raised garden bed with cedar boards, now you have a complete, step-by-step guide to get started. Cedar is the ideal material thanks to its durability, natural resistance to rot, and eco-friendliness. With proper planning, materials, and care, your raised bed will provide a healthy, productive space for your plants.
Whether you’re planting vegetables, herbs, or flowers, this DIY project is both beginner-friendly and cost-effective. Taking the time to build it yourself adds personal satisfaction and long-term value to your garden. Don’t wait—start building your cedar raised bed today and enjoy the results for seasons to come.
You can also pair it with creative vertical gardening projects like [How to Build a Vertical Planter Wall Using Pallets] to maximize your growing space.

Hey there! I’m Ryan J. Cooper, a DIY enthusiast with over a decade of hands-on backyard experience. At YardFixes.com, I share practical, real-life tips to help you build, repair, and transform your outdoor spaces—no matter your skill level.

