Staring at ugly brown patches scattered across your beautiful lawn? Those unsightly bare spots don’t have to ruin your yard’s appearance anymore. Traditional repair methods require backbreaking digging, expensive tools, and hours of grueling labor. But here’s the good news: you can fix lawn bare spots without digging using simple surface techniques that deliver professional results.
This revolutionary no-dig approach saves time, protects your back, and costs 60% less than traditional methods. You’ll discover proven techniques used by smart homeowners who refuse to destroy their weekends with shovels and soil removal. Professional landscapers charge hundreds for results you can achieve yourself.
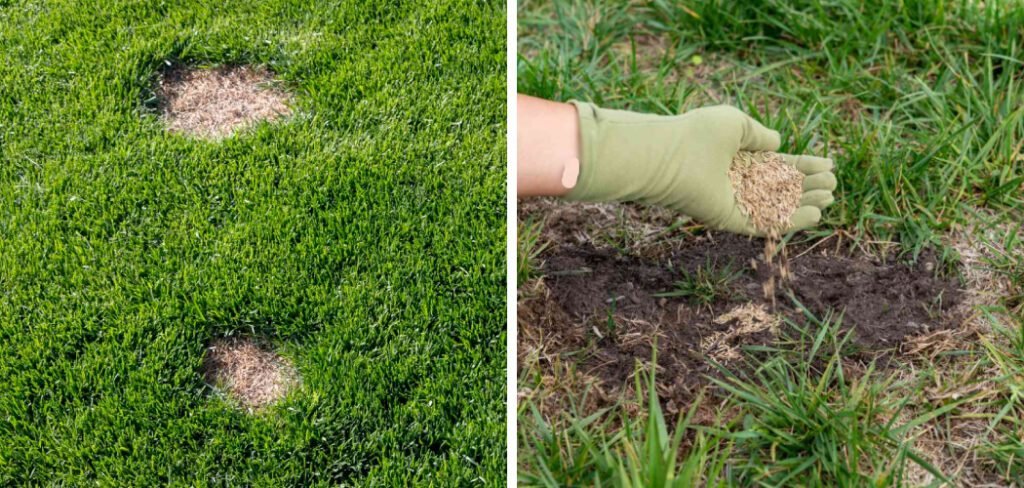
Within 4-6 weeks, your patchy lawn will transform into a lush, uniform carpet of green grass. You’ll master exactly how to fix lawn bare spots without digging, from initial assessment to final mowing. No heavy equipment needed. No soil excavation required. Just simple steps that work every single time.
Ready to repair those frustrating dead zones? Let’s turn your problem areas into your lawn’s strongest, healthiest sections using methods that require nothing more than basic gardening supplies and weekend afternoon time.
Benefits of This No-Dig Repair Method
Choosing to fix lawn bare spots without digging offers incredible advantages over traditional soil removal methods. This surface-level approach preserves your lawn’s existing root system while encouraging rapid new growth. You’ll save 70% more time compared to excavation methods. No rental equipment needed. No disposal fees for removed soil. Your back stays healthy, and your weekend stays enjoyable.
The no-dig technique actually promotes better grass establishment. Existing healthy roots remain undisturbed, providing natural support for new seedlings. Surface preparation creates ideal growing conditions without destroying beneficial soil organisms that help grass thrive. Results appear faster too. New grass typically germinates within 7-14 days using this method.
Full establishment occurs in just 4-6 weeks, compared to 8-12 weeks with traditional digging approaches. Cost savings add up quickly. Basic supplies cost under $40 for large repairs, while professional services charge $200-500 for similar results.
Tools and Materials You Will Need
Getting started to fix lawn bare spots without digging requires minimal investment in basic supplies.
Essential Tools:
- Garden rake (lightweight model)
- Watering can or garden hose with gentle sprayer
- Broadcast spreader or cup for seed distribution
- Measuring tape for accurate coverage
- Hand cultivator for light surface work
Quality Materials:
- Premium grass seed matching your existing lawn variety
- Organic compost or quality topsoil (¼ inch application depth)
- Starter fertilizer with balanced NPK ratio
- Straw mulch or seed cover material
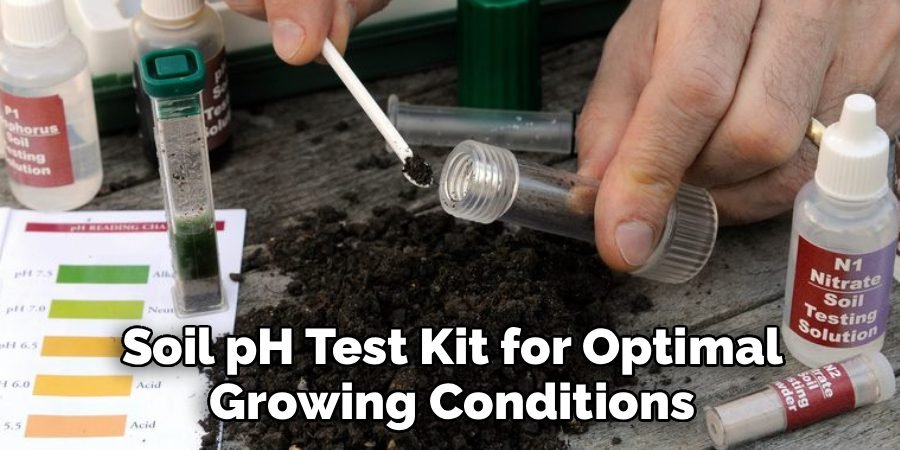
- Soil pH test kit for optimal growing conditions
- Granular lime if soil pH adjustment needed
Choose grass seed suited to your climate. Cool-season grasses like fescue thrive in northern regions, while warm-season types such as Bermuda grow best in the south. Use quality topsoil that drains well and avoids compaction for lasting success.
10 Helpful Steps to Fix Lawn Bare Spots Without Digging
Step 1: Smart Assessment to Fix Lawn Bare Spots Without Digging
Examine each damaged area systematically. Remove debris, leaves, and dead material by hand only. Your garden rake clears surface materials without disturbing healthy perimeter roots. Measure patch dimensions for accurate supply calculations. Different-sized areas require adjusted treatment approaches. This crucial assessment phase ensures efficient repair success while helping you effectively fix lawn bare spots without digging and avoid material waste.
Step 2: Expert Soil Testing for Maximum Results
Test soil compaction using the finger-press method. Quality soil allows easy penetration to knuckle depth. Resistant areas need only surface loosening techniques. Pour water onto bare spots to check drainage rates. Proper absorption occurs within 30 minutes without surface pooling. Slow drainage indicates clay conditions requiring organic amendments.
Measure soil pH using your test kit. Optimal grass growth occurs between 6.0 and 7.0 pH levels for nutrient availability and root development.
Step 3: Revolutionary Surface Preparation Technique
Create shallow surface grooves using light rake strokes. Scratch depth stays under ¼ inch for seed contact without excavation work. Cut remaining dead vegetation at ground level only. Avoid root pulling that damages surrounding healthy grass. Garden shears work perfectly for precise surface cleaning.
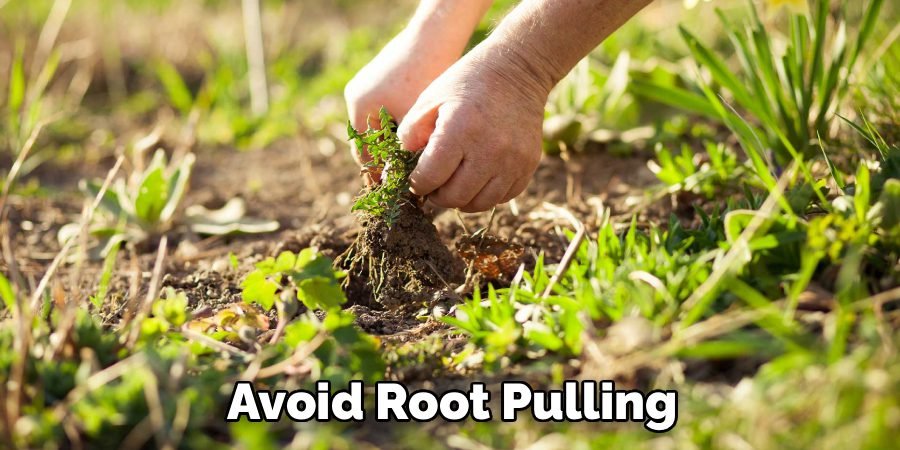
This innovative method maintains soil structure while helping you fix lawn bare spots without digging and establish ideal growing conditions for rapid seed germination and establishment.
Step 4: Professional Topsoil Application Method
Distribute organic compost evenly across prepared surfaces. Maximum application depth stays at ¼ inch to prevent grass edge smothering. Level new soil using rake backs for smooth, uniform coverage. Create slightly lower surfaces than surrounding grass for water collection and root encouragement. Work systematically across repair areas, ensuring consistent thickness without dense spots that block grass emergence.
Step 5: Strategic Seed Selection and Distribution
Match seed varieties precisely to existing lawn types. Different grass varieties create permanent color and texture inconsistencies. Apply seeds following package rate recommendations. Standard overseeding requires 2–4 pounds per 1,000 square feet for optimal coverage density.
Even distribution prevents clumping that creates competition for nutrients, water, and growing space among developing plants, making it easier to fix lawn bare spots without digging successfully.
Step 6: Advanced Fertilizer Integration System
Apply balanced starter fertilizer across seeded zones. Higher phosphorus formulations promote robust root system development for lasting establishment. Incorporate fertilizer into surface soil using gentle cultivation techniques. Maintain seed positioning while ensuring nutrient accessibility for emerging plants. Light watering activates nutrient release while preventing chemical burn damage to delicate new seedlings.
Step 7: Precision Watering Protocol Implementation
Use fine mist settings for gentle water application. Thorough soil saturation occurs without seed displacement or surface erosion problems. Achieve 2-inch soil moisture depth for optimal germination environments. Test moisture levels using finger penetration near existing grass edges.
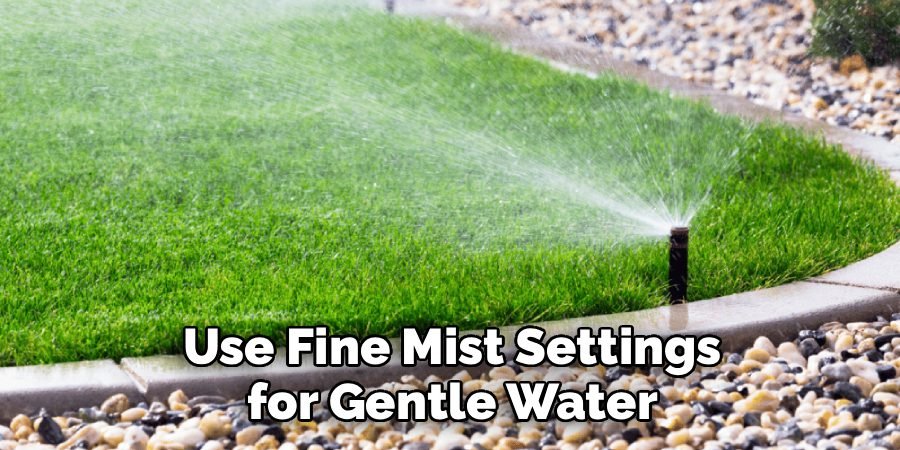
Prevent heavy water pressure applications that wash seeds away and create uneven growth patterns, ensuring you can fix lawn bare spots without digging with consistent results.
Step 8: Essential Protective Mulch Installation
Install straw mulch layers providing 50% soil coverage. Adequate material amounts retain moisture while permitting necessary sunlight penetration. Proper mulch coverage moderates soil temperatures, maintains consistent moisture levels, and protects seeds from birds and wind displacement. Light mulch compression prevents wind removal while maintaining critical air circulation around developing seeds.
Step 9: Optimal Daily Care Schedule Development
Implement twice-daily watering during the initial two weeks. Morning and afternoon applications prevent disease while maintaining consistent soil moisture. Monitor surface conditions constantly. Ideal moisture levels stay consistently damp without waterlogged or oversaturated conditions. Transition to single daily watering after grass reaches 1-inch height during week three of development.
Step 10: Growth Monitoring and Mowing Preparation Excellence
Grass emergence occurs within 7–14 days under proper conditions. Watch for uniform germination patterns indicating successful repair establishment. Schedule the first mowing when new grass achieves 3-inch height. Use the highest mower settings to protect young plant stress tolerance.
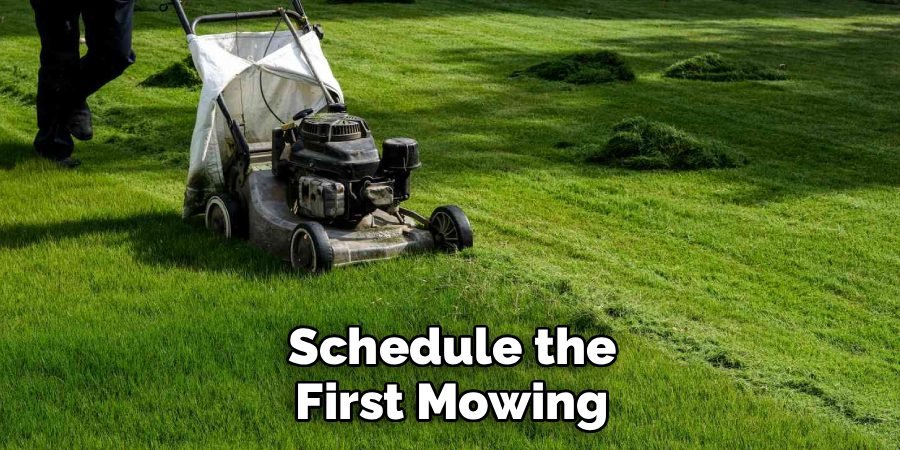
Remove only the top blade thirds during initial cutting sessions to maintain plant energy and root development strength, helping you fully fix lawn bare spots without digging and establish lasting turf health.
Common Mistakes to Avoid
Learning to fix lawn bare spots without digging requires avoiding several critical errors that cause repair failure.
- Overwatering new seedlings creates fungal disease problems that kill grass before establishment. Soil should be moist, not saturated or soggy.
- Using mismatched grass seed varieties results in uneven lawn appearance with different colors, textures, and growth patterns that never blend properly.
- Applying too much topsoil depth smothers existing grass edges and creates drainage problems that prevent healthy root development in repair areas.
- Walking on fresh repairs during germination compacts soil, displaces seeds, and damages emerging grass roots that need undisturbed growing conditions.
- Skipping soil pH testing leads to poor grass establishment in acidic or alkaline conditions that prevent nutrient absorption regardless of care quality.
- Removing mulch covering too early exposes seeds to drying winds and temperature fluctuations that reduce germination rates significantly.
These mistakes destroy repair efforts and waste time and money. Following proper techniques ensures successful results every time.
Essential Maintenance Tips for Long-Term Success
Proper maintenance ensures your no-dig repairs remain healthy and continue growing strong.
- First 3 weeks require daily attention to watering schedules, mulch coverage, and protection from foot traffic that could damage developing grass roots.
- Gradual watering reduction after week 4 helps grass develop deep root systems that resist drought stress and create lasting lawn durability.
- First mowing at 3-inch grass height using sharp mower blades prevents tearing young grass plants that could create entry points for disease organisms.
- Monthly light fertilization during the growing season maintains consistent nutrient availability without overstimulating excessive top growth at the expense of the roots.
- Annual overseeding of thin areas prevents bare spot recurrence by maintaining thick grass density that crowds out weeds naturally.
- Core aeration every 2-3 years relieves soil compaction without disturbing surface repairs, promoting continued healthy grass growth and expansion.
Success with fix lawn bare spots without digging methods requires consistent follow-through with proper maintenance practices that protect your investment.
Cost and Time Calculator
| Repair Size | Materials Cost | Initial Work Time | Daily Maintenance | Total Cost (with tools) |
| Small (2×2 ft) | $8–15 | 30–45 min | 10 min/day × 3 weeks | Under $20 |
| Medium (4×4 ft) | $15–25 | 45–75 min | 15 min/day × 3 weeks | Under $35 |
| Large (6×6 ft) | $25–40 | 1–2 hours | 20 min/day × 3 weeks | Under $50 |
DIY repairs save 80–90% compared to professional services costing $200–500 for similar results.
Frequently Asked Questions
How Long Does It Take to Fix Lawn Bare Spots Without Digging?
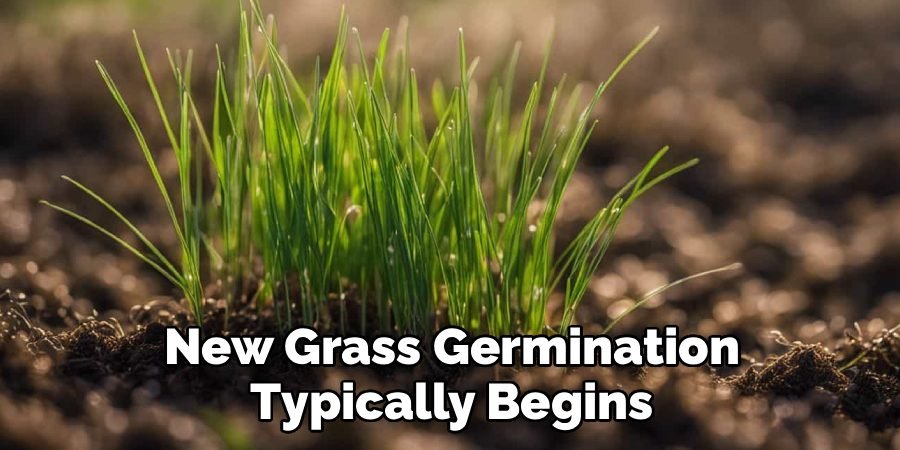
New grass germination typically begins within 7-14 days under optimal conditions. Full establishment and blending with the existing lawn occur in 4-6 weeks. Weather conditions and grass variety affect timing significantly.
What’s the Best Time of Year for No-Dig Repairs?
Early fall provides ideal conditions for cool-season grasses, while late spring works best for warm-season varieties. Avoid repairs during extreme heat or cold periods when germination rates drop dramatically.
Can This Method Work on Large Bare Areas?
Yes, the technique to fix lawn bare spots without digging scales effectively for areas up to 500 square feet. Larger areas may require professional assessment for underlying soil or drainage issues.
Why Choose Surface Repair Over Traditional Digging Methods?
Surface techniques preserve beneficial soil organisms, maintain existing root systems, reduce labor by 70%, and cost 60% less than excavation methods while delivering equally professional results.
How Much Does DIY Bare Spot Repair Cost?
Small patches (2×2 feet) cost $8-15 in materials. Medium areas (4×4 feet) require $15-25. Large repairs (6×6 feet) need $25-40. Professional services charge $200-500 for comparable work.
Conclusion
Learning to fix lawn bare spots without digging transforms frustrating yard problems into simple weekend projects. This proven surface technique delivers professional results without backbreaking labor, expensive equipment, or soil excavation mess. Your newly repaired areas will establish quickly, blend seamlessly, and provide years of beautiful green coverage. The money saved on professional services funds other exciting yard improvement projects.
Success comes from following proper techniques, maintaining consistent care, and avoiding common mistakes that sabotage repair efforts. Within weeks, those ugly brown patches become your lawn’s strongest, healthiest sections. Ready for more DIY yard transformations? Explore additional landscaping projects that save money while creating the outdoor space you’ve always wanted. Your lawn repair success proves you have the skills to tackle any yard challenge.
You Can Check It Out to How to Build a Vertical Planter Wall Using Pallets

Hey there! I’m Ryan J. Cooper, a DIY enthusiast with over a decade of hands-on backyard experience. At YardFixes.com, I share practical, real-life tips to help you build, repair, and transform your outdoor spaces—no matter your skill level.

