Small urban balconies often lack privacy, making it hard to relax comfortably. Neighbors and nearby buildings can easily overlook your space. A DIY balcony privacy screen for small spaces is an easy, affordable solution to fix this problem.This project not only creates privacy but also adds style and a touch of shade. It gives you control over design, size, and materials without breaking the budget.
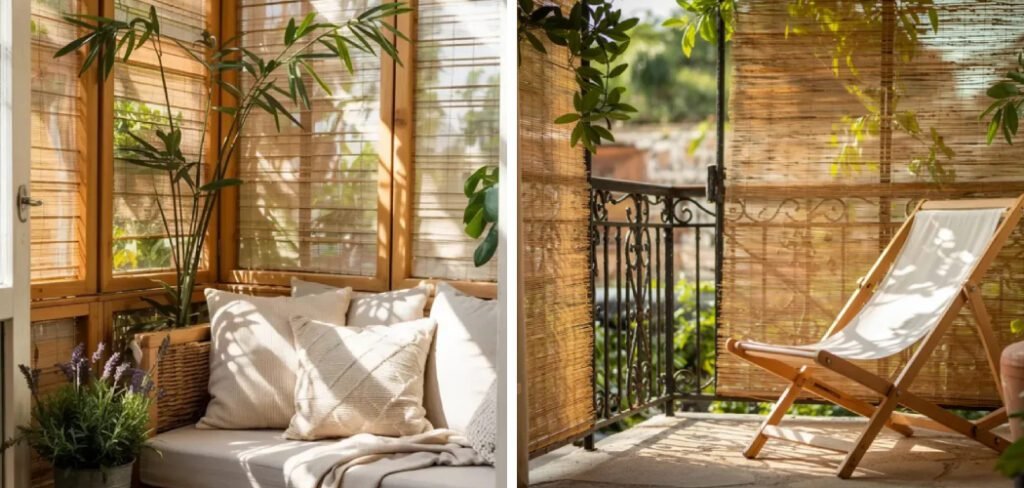
You can match it to your balcony’s look, making the area feel like an outdoor retreat. Building a DIY balcony privacy screen for small spaces yourself ensures it fits perfectly and functions well, even in tight areas. Plus, it’s satisfying to create something useful and stylish on your own.
In this guide, you’ll learn how to plan, build, and maintain a balcony screen that looks amazing and provides the privacy you need.
Benefits Of A DIY Balcony Privacy Screen
A DIY balcony privacy screen for small spaces offers several practical advantages. First, it provides visual privacy so you can relax without feeling exposed. It also makes your outdoor space more comfortable and inviting. This project is completely DIY-friendly, meaning you can build it without special skills or expensive tools. It’s easy to maintain and can last for years with minimal care.
Unlike large renovations, a privacy screen is perfect for small spaces and doesn’t require major construction. It adds protection from wind and sunlight while improving the look of your balcony. Overall, it’s a simple way to create comfort, style, and privacy.
Planning & Layout Essentials
Start by measuring your balcony dimensions carefully to ensure a proper fit. Decide where to position the panels so they provide maximum privacy without blocking natural light. Check weight limits and secure railing attachment points for safety. Plan for water runoff to avoid drainage issues and damage over time.
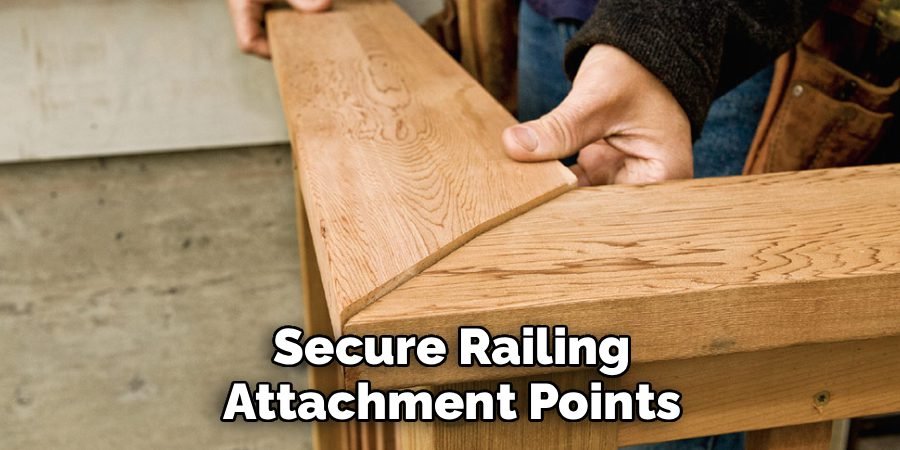
Finally, sketch a layout and mark vertical and horizontal placements with chalk or tape for accuracy. This preparation makes building your DIY balcony privacy screen smooth and efficient.
Tools And Materials You Will Need
Gathering the right materials and tools ensures your DIY balcony privacy screen project goes smoothly and stays within budget.
Materials
- Wooden slats or lattice panels (~$10–$15 each)
- Screws, nails, and brackets (~$15 total)
- Outdoor paint or weatherproof sealant
- Optional: climbing plants for a natural look
Tools
- Drill and screwdriver
- Level and measuring tape
- Saw (hand or circular)
Having everything ready before you start helps avoid mistakes, keeps costs predictable, and makes building your DIY balcony privacy screen for small spaces simple and stress-free.
Step-By-Step Guide: 10 Easy Steps To Build A DIY Balcony Privacy Screen For Small Spaces
Step 1: Assess Balcony Space & Safety
Check the balcony’s structural support. Measure weight limits and railing strength. Make sure panels won’t block drainage or cause water pooling. Look for hazards or restrictions that could interfere with installation. Confirm spacing for furniture or plants. Inspect the railing for weak spots or damage.
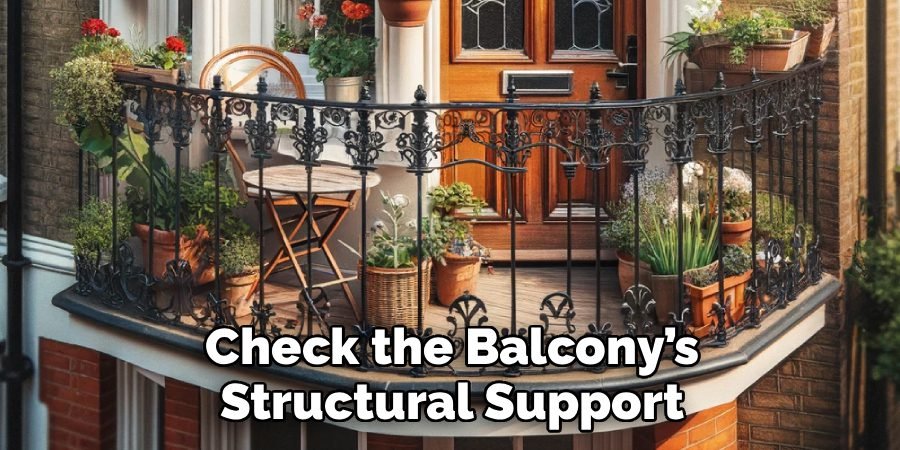
Plan for safe handling of tools and materials. Take note of any obstructions like vents or light fixtures. Ensuring a safe and stable foundation now will prevent problems later. Proper assessment makes building your DIY balcony privacy screen smoother and safer.
Step 2: Square Layout & Panel Size
Choose panel height and width proportional to the balcony. Dry-fit panels to check alignment. Mark exact positions with chalk or tape. Use a measuring tape and level for precision. Ensure spacing allows light and airflow. Plan for any gaps needed for plants or accessories. Confirm that all panels fit together smoothly.
This step sets the stage for your DIY balcony privacy screen for small spaces and prevents misalignment. Double-check measurements before moving on to cutting or attaching panels.
Step 3: Gather Materials & Prepare Tools
Collect all materials before starting. Organize wooden slats or lattice panels, screws, nails, and brackets. Inspect your drill, screwdriver, level, and saw. Check that the paint or sealant is ready. Gather safety gear like gloves and goggles. Review the project layout to know the quantities needed. Include approximate cost estimates to stay on budget.
Having everything in place prevents delays. Preparation ensures smoother installation. It also keeps your DIY balcony privacy screen project efficient and stress-free.
Step 4: Attach Vertical Supports
Secure posts or brackets to the balcony railing or floor. Use a level to ensure vertical supports are straight. Confirm stable attachment to prevent wobbling. Space posts evenly to match panel sizes. Check alignment frequently as you work. Reinforce connections if necessary. Ensure supports won’t damage railings or block water flow.
This step is crucial for ensuring the stability and durability of your DIY balcony privacy screen for small spaces. Take your time; a strong frame makes installation of panels easier and ensures long-lasting safety and performance.
Step 5: Install Horizontal Slats / Panels
Start at the bottom and work upward. Maintain consistent spacing between slats. Screw each slat securely into the vertical supports. Check alignment regularly with a level. Leave small gaps for airflow and water drainage. Adjust as needed to keep panels straight. Make sure the surface remains even and smooth. Double-check that panels do not obstruct windows or vents. Proper installation ensures your balcony looks professional and functions well.
Step 6: Cut & Fit Borders
Measure corner pieces carefully. Trim panels to fit tight edges. Smooth rough cuts with sandpaper. Dry-fit each panel before attaching. Keep factory edges facing outward when possible. Check alignment with existing panels. Avoid forcing pieces into place; adjust as needed. This careful fitting enhances the look of your DIY balcony privacy screen for small spaces.
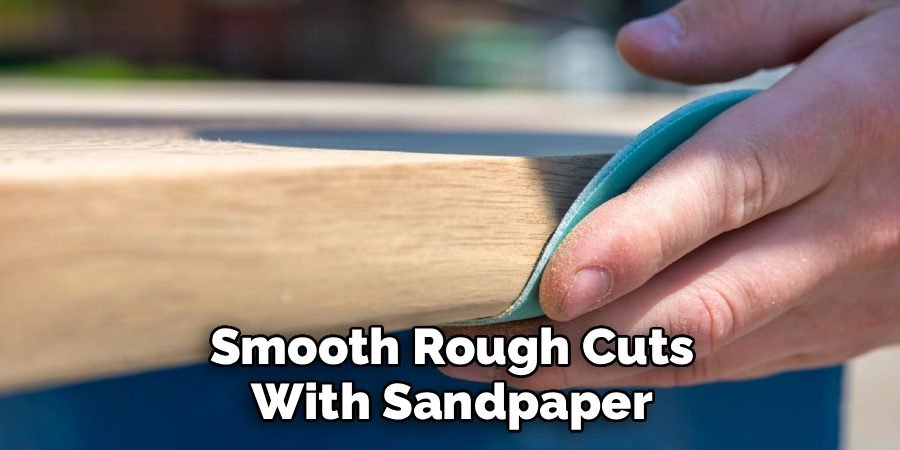
Take your time to ensure corners are clean and precise. Proper borders improve overall stability and aesthetics, giving your balcony a polished and professional finish.
Step 7: Secure All Panels
Tighten all screws and brackets. Test each panel for stability. Adjust spacing if panels shift. Ensure no loose edges remain. Inspect each joint for strength. Confirm panels are flush with supports. Recheck alignment to keep everything level. Minor adjustments now prevent long-term issues. Secure attachment makes your balcony screen safe for wind and weight.
Step 8: Sanding & Finishing
Sand rough edges and corners for smoothness. Check surfaces for splinters. Apply outdoor-safe paint or sealant to protect against moisture and sun. Cover all exposed wood. Allow adequate drying time between coats. Ensure even coverage for durability. Proper finishing extends the life of your DIY balcony privacy screen. Smooth surfaces also improve safety and appearance.
Step 9: Add Optional Greenery
Attach planters or climbing plants for extra privacy. Ensure the balcony can handle the weight. Use lightweight pots or railing planters if needed. Space plants evenly along panels. Water carefully to prevent runoff onto neighbors’ balconies. Incorporate minor cost tips for soil and pots. Greenery adds beauty and softens the look.
This step enhances your DIY balcony privacy screen for small spaces visually and functionally. Consider plant growth when spacing panels to maintain safety and aesthetics while creating a lush, private retreat.
Step 10: Final Inspection & Styling
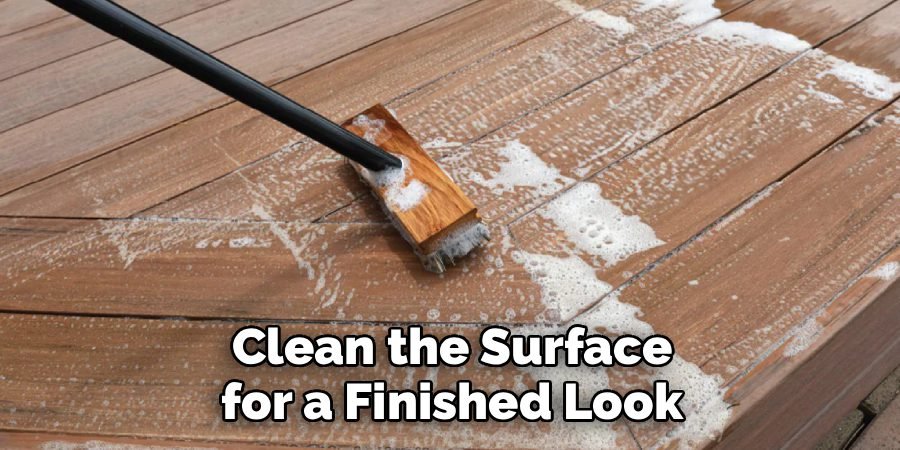
Check all panels for stability and test screws and brackets to ensure secure attachment. Adjust spacing or leveling if necessary. Add furniture, cushions, or decorative lighting. Style plants or hanging accessories. Clean the surface for a finished look. This final review ensures your DIY balcony privacy screen for small spaces is safe, functional, and visually appealing.
For additional ideas, see our DIY Outdoor Privacy Screens guide. Enjoy your private, comfortable balcony space.
Common Mistakes To Avoid
Building a balcony privacy screen may seem simple, but small errors can cause big problems. Taking time to plan and check details prevents costly mistakes and ensures safety.
- Skipping a thorough structural support check can result in panels falling or damaging the balcony.
- Using untreated or low-quality wood that warps, rots, or fails under outdoor conditions.
- Measuring incorrectly, leading to panels that don’t fit properly or leave awkward gaps.
- Over-tightening screws or brackets can split the wood and weaken the structure.
- Ignoring weight limits, causing stress on the railing or posts, and creating safety hazards.
- Improper finishing, such as skipping sanding or sealing, reduces longevity and aesthetic appeal.
Paying attention to these details ensures your DIY balcony privacy screen for small spaces is safe, durable, and visually appealing. Avoiding mistakes now saves time and effort later, giving you a long-lasting, professional-looking result.
Maintenance Tips For Long-Lasting Results
Regular maintenance keeps your balcony privacy screen looking great and functioning safely for years. Simple seasonal checks prevent small issues from becoming major problems.
- Inspect all screws, brackets, and supports seasonally to ensure nothing is loose or damaged.
- Reseal or repaint wooden panels yearly or as needed to protect against moisture and sun exposure.
- Clean dirt, dust, and debris with a mild soap and soft brush to maintain appearance.
- Trim climbing plants or vines to prevent excess weight on panels or supports.
- Replace any damaged or warped panels promptly to maintain safety and aesthetics.
Following these tips helps your DIY Balcony Privacy Screen For Small Spaces stay strong, safe, and visually appealing over time, saving effort and repair costs.
Design Variations & Inspiration
There are many ways to customize your DIY Balcony Privacy Screen For Small Spaces. Consider high-contrast wood stains to create visual interest and define different sections. Mixing lattice panels with solid panels adds texture and allows light to pass through while maintaining privacy. Incorporate climbing plants or hanging planters for a natural, green look.
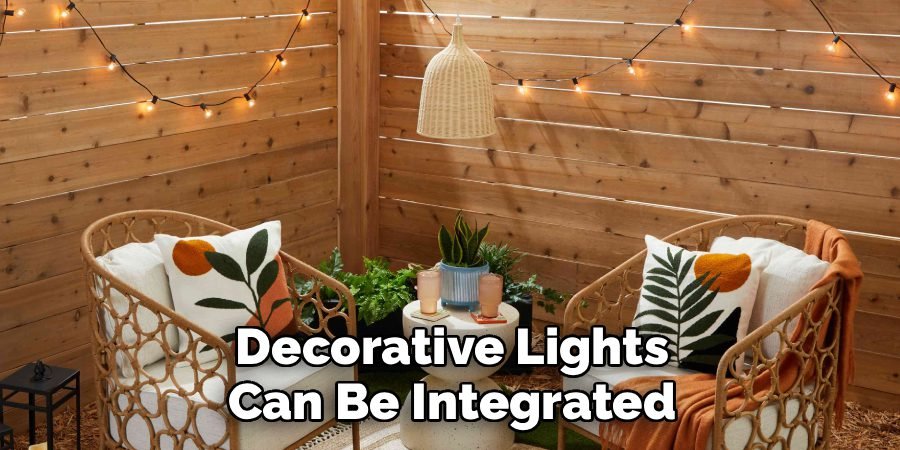
Decorative lights can be integrated with panels to provide ambiance in the evenings. For very small balconies, foldable or retractable panels offer privacy when needed and can be tucked away when space is tight. Experimenting with these variations lets you create a functional and stylish outdoor retreat tailored to your space.
Frequently Asked Questions
Do I Need A Permit For Balcony Privacy Screens?
Usually, small DIY balcony privacy screens do not require a permit. However, it’s important to check local building regulations to ensure compliance.
Can I Use Bamboo Panels Instead Of Wood?
Yes, bamboo is a great alternative. It is lightweight, durable, and naturally weather-resistant, making it ideal for small spaces. Using bamboo or wood, both work well for a DIY Balcony Privacy Screen For Small Spaces.
How Do I Attach Panels Without Damaging Railings?
Use brackets or clamps specifically designed for railing attachment. Avoid drilling directly into the railing whenever possible to prevent damage.
What Paint Or Sealant Works Best Outdoors?
Exterior-grade, water-resistant paint or sealant is recommended. This protects wood from the sun, rain, and moisture. Regular maintenance extends the life of your balcony privacy screen and keeps it looking fresh.
Conclusion
A DIY balcony privacy screen for small spaces provides privacy, style, and complete control over your balcony’s look. It transforms cramped or exposed areas into cozy outdoor retreats. Building your own screen is simple, budget-friendly, and highly customizable. Even small adjustments, like adding climbing plants or choosing different panel types, make a big difference.
Now is the perfect time to start planning and creating a screen that fits your space perfectly. Explore other Privacy & Shade DIY projects for additional ideas and inspiration. With careful planning and the right materials, your small balcony can become a private, stylish, and functional area you’ll enjoy year-round.
You Can Check It Out to Budget Pallet Patio Flooring Ideas

Hey there! I’m Ryan J. Cooper, a DIY enthusiast with over a decade of hands-on backyard experience. At YardFixes.com, I share practical, real-life tips to help you build, repair, and transform your outdoor spaces—no matter your skill level.

