Want to transform your backyard with instant curb appeal? A checkerboard paver patio DIY is one of the easiest weekend projects that blends charm with practicality. The alternating pattern gives a clean, classic look that feels custom yet approachable. Unlike expensive stonework, checkerboard pavers let you control your budget and size the project to match your outdoor space. They’re modular, forgiving to install, and adaptable, whether you’re designing a small sitting area or a full entertainment patio.
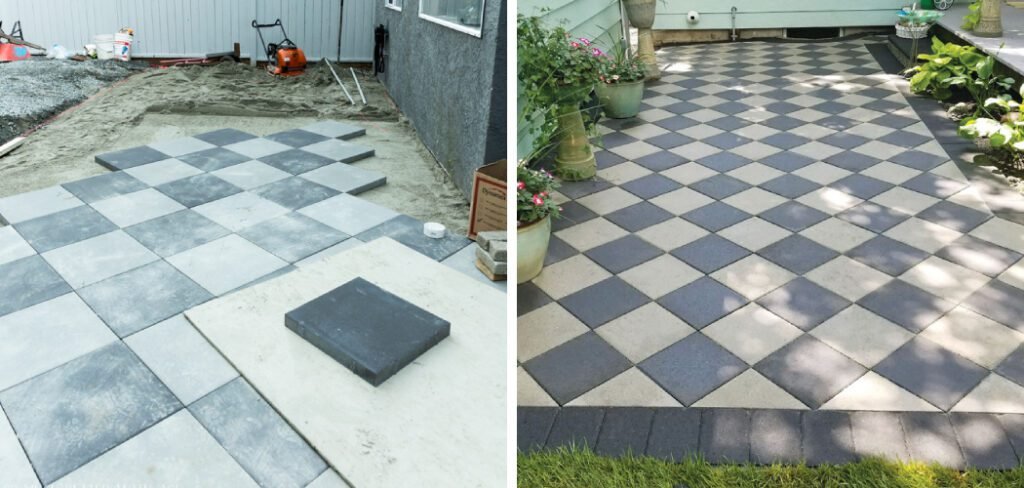
In this guide, you’ll learn the full process from planning and layout to excavation, base preparation, and setting pavers in a checkerboard design. You’ll also discover pro tips for edging, polymeric sand installation, and sealing for long-lasting results. With just a few tools and some patience, you can create a checkerboard paver patio DIY that elevates your backyard’s function and style—without hiring contractors or overspending. Let’s dive into the steps to build your patio with confidence.
Benefits Of A Checkerboard Paver Patio
A checkerboard paver patio DIY offers the perfect blend of beauty and practicality for any backyard. The bold, alternating pattern adds instant visual pop and a timeless design that never feels outdated. Unlike wood decks or painted surfaces that fade and peel, pavers offer lasting durability and can be easily spot-repaired if one section shifts or cracks.
Another big advantage is budget control—materials are modular and predictable in cost, so you can size the patio to match your needs without surprises. Whether you’re creating a cozy sitting area or a larger entertainment space, this project offers style, strength, and flexibility.
Planning & Layout Essentials
Before starting your checkerboard paver patio DIY, take time to plan the layout. Choose a square size—12″, 16″, or 24″—that feels proportional to your outdoor space. Always check slope: aim for a 1–2% pitch away from the house to prevent water pooling. Use string lines and a level to mark the grade clearly.
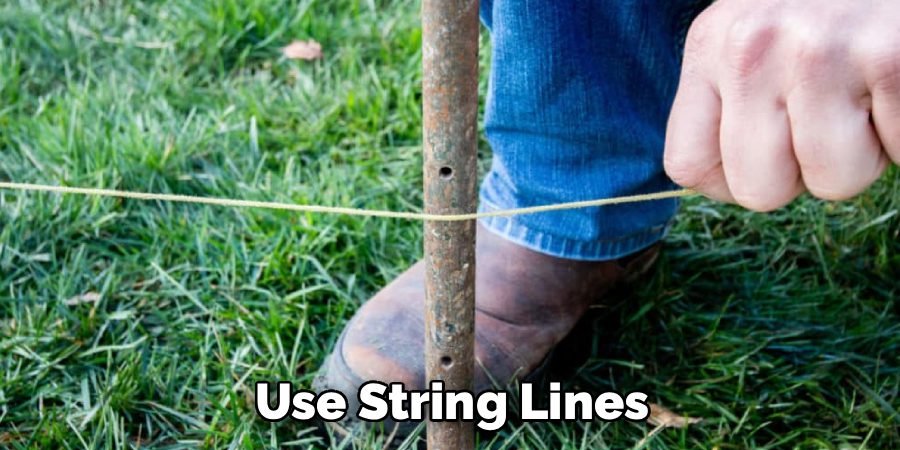
Center your grid so pavers align neatly and avoid thin slivers at the edges. Mark utilities before digging to stay safe. Plan a drainage path if your yard tends to hold water. Good planning ensures a square, stable, and professional-looking patio that lasts for years.
Tools and Materials You Will Need
For a successful checkerboard paver patio DIY, having the right tools and materials is essential. Proper preparation makes installation faster and more precise.
Tools:
- Rubber mallet
- Level
- Tape measure
- String lines and stakes
- Shovel and garden rake
- Plate compactor or hand tamper
Materials:
- Checkerboard pavers (12″, 16″, or 24″)
- Gravel or crushed stone base
- Sand for leveling
- Polymeric sand for joints
- Edging restraints
With these tools and materials on hand, you’ll be ready to start laying your patio confidently and efficiently.
Step-By-Step Guide: 10 Easy Steps to Checkerboard Paver Patio DIY
Step 1: Assess Site, Slope & Soil
Start by inspecting your backyard for low and high spots that may affect drainage. Note soil type and water flow to prevent future pooling. Use stakes and string to mark the patio footprint. Clear rocks, roots, and debris to make excavation easier. A shovel and garden rake will help level the area. Preparing the site carefully ensures a solid foundation.
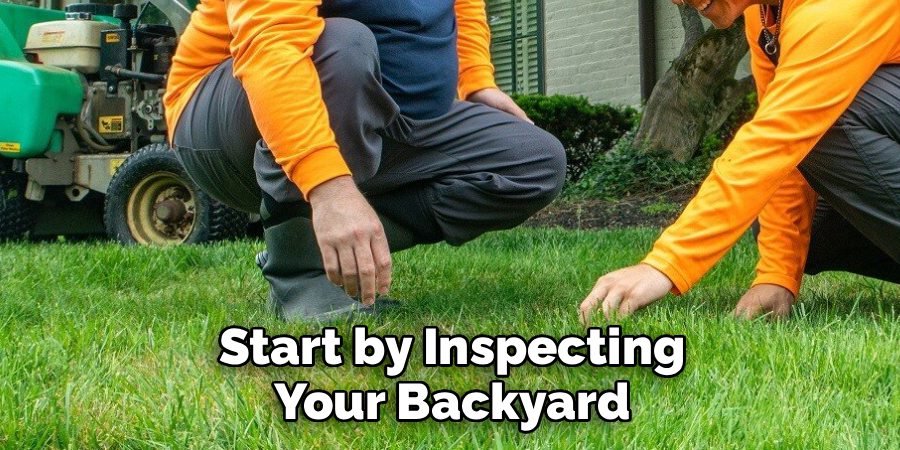
This step is critical for stability and prevents uneven settling, which saves time and effort later when installing your patio.
Step 2: Square the Layout & Size Your Checks
Choose a square paver size that fits your space, such as 12″, 16″, or 24″. Snap chalk lines along edges and use a 3-4-5 triangle to square the corners. Dry-lay several rows to preview spacing and pattern. This allows you to make adjustments before digging. Visualizing the layout ensures clean lines and a balanced design. By checking the fit and alignment early, your checkerboard paver patio DIY will look professional, well-proportioned, and ready for smooth installation.
Step 3: Excavate to Base Depth
Remove sod and topsoil to reach the correct depth for gravel, sand, and pavers. Use a shovel and rake to keep the bottom even and follow the planned slope. Aim for 4–6 inches of compacted gravel plus 1 inch of sand. Proper excavation ensures a stable base and prevents uneven pavers. Clearing the area and leveling it carefully makes the next steps easier and sets up a long-lasting patio that stays flat and functional.
Step 4: Geotextile & Sub-Base Prep
Lay geotextile fabric over the excavated area to separate soil from gravel. Spread gravel in 2-inch layers and compact each lift with a plate compactor. Continue until you reach the required depth while maintaining slope. A stable base prevents shifting and settling. Using the geotextile and properly compacted gravel ensures your checkerboard paver patio DIY will remain level and durable for years, even with heavy foot traffic or outdoor furniture on top.
Step 5: Screed Perfect Bedding Sand
Set screed rails using ¾-inch pipes as a guide. Pull sand to a 1-inch thickness between the rails. Avoid stepping on freshly screeded areas. Lightly fill divots and re-screed if needed. A level sand layer makes it easier to lay pavers straight. Accurate sand bedding improves stability and alignment. Preparing the sand properly ensures the pavers sit evenly, creating a smooth, durable surface that supports the pattern and prevents rocking over time.
Step 6: Lay the Checkerboard Pattern
Start laying pavers from a straight reference edge. Alternate colors to create the classic checkerboard look. Tap each paver with a rubber mallet to seat it firmly. Check alignment every few courses to maintain straight lines and consistent joints. Using a level occasionally keeps the surface flat. Following this method ensures a professional result.
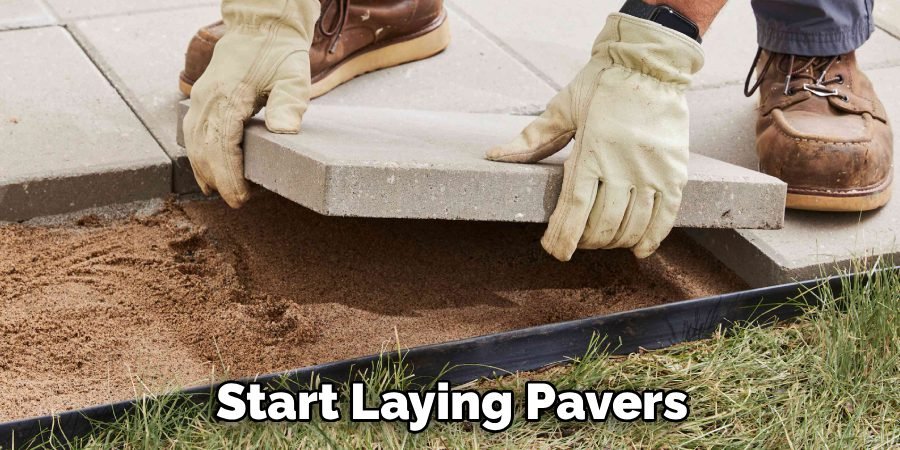
Carefully laying the pattern now guarantees your checkerboard paver patio DIY is visually striking, with tight joints and clean, even spacing across the entire patio.
Step 7: Cut & Fit Borders Cleanly
Measure edge pieces carefully and mark where cuts are needed. Use a wet saw to cut pavers for a precise fit. Place factory edges in the field where possible. Dry-fit before setting permanently to confirm alignment. Properly cut borders frame the patio neatly and create a polished appearance.
This attention to detail enhances both aesthetics and structural stability. Accurate borders make your checkerboard paver patio DIY look professional and ensure pavers stay secure at the edges.
Step 8: Install Edging & Lock the Field
Position paver edge restraints on the gravel base rather than the sand layer. Spike every 8–12 inches along curves and straight sections. Recheck alignment and tap lightly to adjust. Correct edging prevents lateral movement and keeps pavers in place. Proper installation maintains the pattern and stability. Using these restraints ensures the patio remains level and durable over time, even with heavy use or weather exposure.
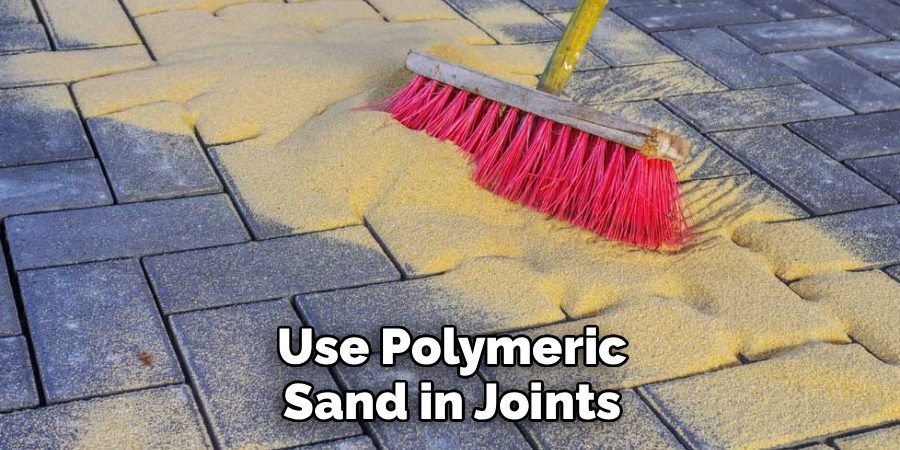
Step 9: Polymeric Sand, Compact, Re-Sand
Sweep polymeric sand into all joints until filled. Use a plate compactor with a protective pad to set the sand. Repeat the sweep and compaction for full coverage. Mist lightly to activate the sand without creating puddles. This strengthens joints, reduces weed growth, and stabilizes the pavers.
Proper joint filling protects your checkerboard paver patio DIY, keeping it level, safe, and visually appealing while minimizing long-term maintenance.
Step 10: Seal, Style & Protect
After curing, apply sealer according to the manufacturer’s instructions, choosing matte or wet-look finish. Place furniture with non-marring feet and use outdoor rugs rated for pavers. For inspiration, consider creative designs like a painted checkerboard patio.
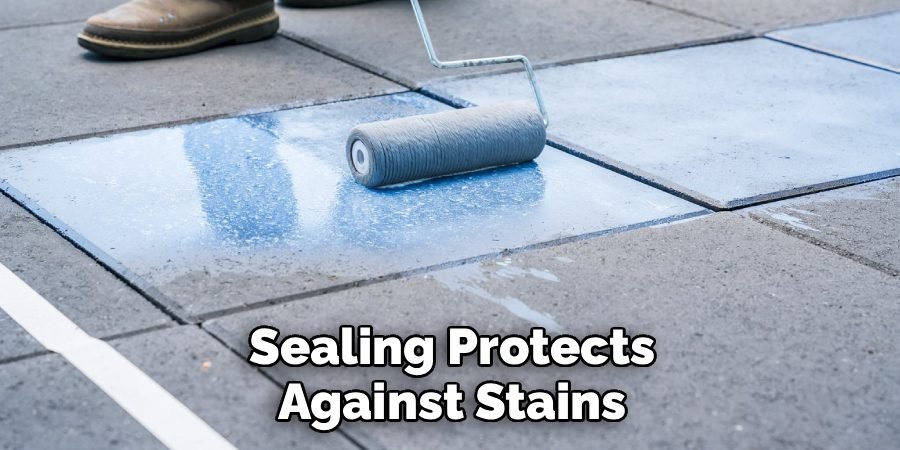
Sealing protects against stains and extends the life of your checkerboard paver patio DIY, keeping the colors vibrant and the surface functional. Proper finishing ensures your patio remains attractive, durable, and ready for entertaining or relaxing for years to come.
Common Mistakes To Avoid
Even small errors can affect your checkerboard paver patio DIY. Preparing properly prevents frustration and ensures long-lasting results.
- Skipping compaction lifts leads to an uneven base.
- Failing to plan slope or drainage, causing water to pool near the house.
- Over-sanding the bedding layer, which makes pavers sink over time.
- Not installing edge restraints, allowing pavers to migrate.
- Flooding polymeric sand, which can cause joint failure.
- Cutting pavers without a wet saw results in chipped or uneven edges.
Avoiding these mistakes keeps your patio level, stable, and visually appealing for years.
Maintenance Tips For Long-Lasting Results
Proper upkeep keeps your checkerboard paver patio DIY looking great and functioning well for years. Simple seasonal routines make a big difference.
- Rinse and gently scrub pavers with a soft brush each season.
- Control weeds and top off polymeric sand in joints as needed.
- Re-seal the patio periodically, depending on traffic and sun exposure.
- In winter, use plastic shovels and avoid harsh chemical de-icers.
- Spot-lift or replace damaged pavers quickly to prevent further issues.
Regular maintenance ensures your patio remains level, visually appealing, and durable with minimal effort.
Design Variations & Inspiration
Checkerboard patios can be customized to match any backyard style. One popular choice is a high-contrast monochrome pattern using charcoal and limestone pavers for a clean, modern look. Mixing brick and concrete units adds texture contrast and visual interest. For a softer, eco-friendly vibe, consider infilling alternating squares with grass or fine gravel, creating a living checkerboard effect.
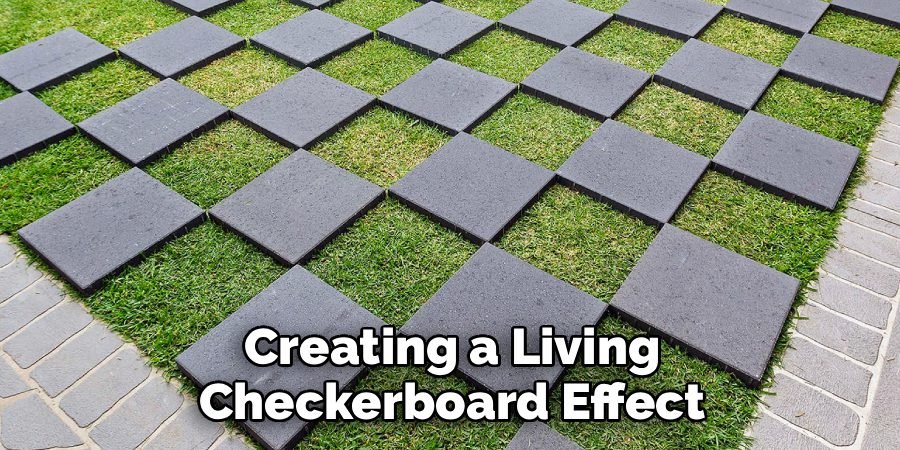
Adding boardwalk-style borders or a soldier course frame around the patio can define the space and provide a polished, professional finish. These variations allow homeowners to tailor the design to their outdoor space, blending functionality with unique style and personal preference.
Drainage & Slope Tips
Proper drainage is essential for a long-lasting patio. Aim for a ¼-inch per foot slope away from structures to prevent water pooling. Consider installing a French drain along long edges if your yard has low spots. Extend downspouts beyond the patio to direct runoff safely. Avoid creating barriers with edging that traps water.
These measures help protect your patio surface, sub-base, and surrounding landscape from erosion or standing water. Paying attention to slope and drainage ensures your outdoor space remains functional, safe, and visually appealing through every season.
Cost, Time & Project Calculator
| Item | Calculation / Notes | Cost Estimate |
| Pavers | Calculate per sq. ft. | Varies by material, typically $2–$5 per sq. ft. |
| Base Materials | Determine by depth (gravel + sand) | Gravel $30–$50/yard, Sand $25–$40/yard |
| Time Estimate | 1 weekend for 120–200 sq. ft. with two people | Labor included if DIY, optional $200–$400 if hired |
| Paver Quantity Formula | Area ÷ coverage × 1.10 (waste/cuts) | N/A |
| Base Volume | Area × base depth (ft) × 0.037 = cubic yards | N/A |
Planning materials, time, and approximate costs with these formulas helps keep the project on track and efficient.
Frequently Asked Questions
Do I Need A Concrete Base?
No, a concrete base is not required for most checkerboard paver patios. A compacted gravel and sand base provides adequate stability. Concrete is only needed for extremely heavy loads or permanent structures. Proper compaction ensures your checkerboard paver patio DIY remains level and long-lasting.
What Is The Best Paver Size For Crisp Checkerboard Lines?
Square pavers between 12″ and 24″ work best. Smaller units create more joints, which can shift over time. Larger squares make the pattern bold and easier to align. Choose a size that fits your space and complements the patio design.
Can I Place Over Existing Concrete?
Yes, you can install pavers over concrete with a sand leveling layer. Ensure the concrete is stable and free from cracks. This method is faster than full excavation.
How Do I Stop Weeds And Ants Long-Term?
Use polymeric sand in joints and compact thoroughly. Seal the patio after installation. Maintain sand and inspect joints periodically. These steps protect your checkerboard paver patio DIY from weeds and insects over time.
Conclusion
A checkerboard paver patio DIY offers timeless visual appeal, durability, and the satisfaction of a hands-on project. The classic alternating pattern instantly elevates any backyard, while the solid gravel and sand base ensures long-lasting stability. This DIY approach gives you full control over layout, materials, and budget, allowing customization to suit your space. By following proper planning, installation, and maintenance, you can enjoy a patio that remains functional and beautiful for years.
For more inspiration, explore our Outdoor Flooring Ideas to discover creative ways to enhance your backyard with pavers, decking, and other surfaces. Taking the time to plan and execute your patio carefully ensures a rewarding, professional-looking result that complements your home and lifestyle.

Hey there! I’m Ryan J. Cooper, a DIY enthusiast with over a decade of hands-on backyard experience. At YardFixes.com, I share practical, real-life tips to help you build, repair, and transform your outdoor spaces—no matter your skill level.

